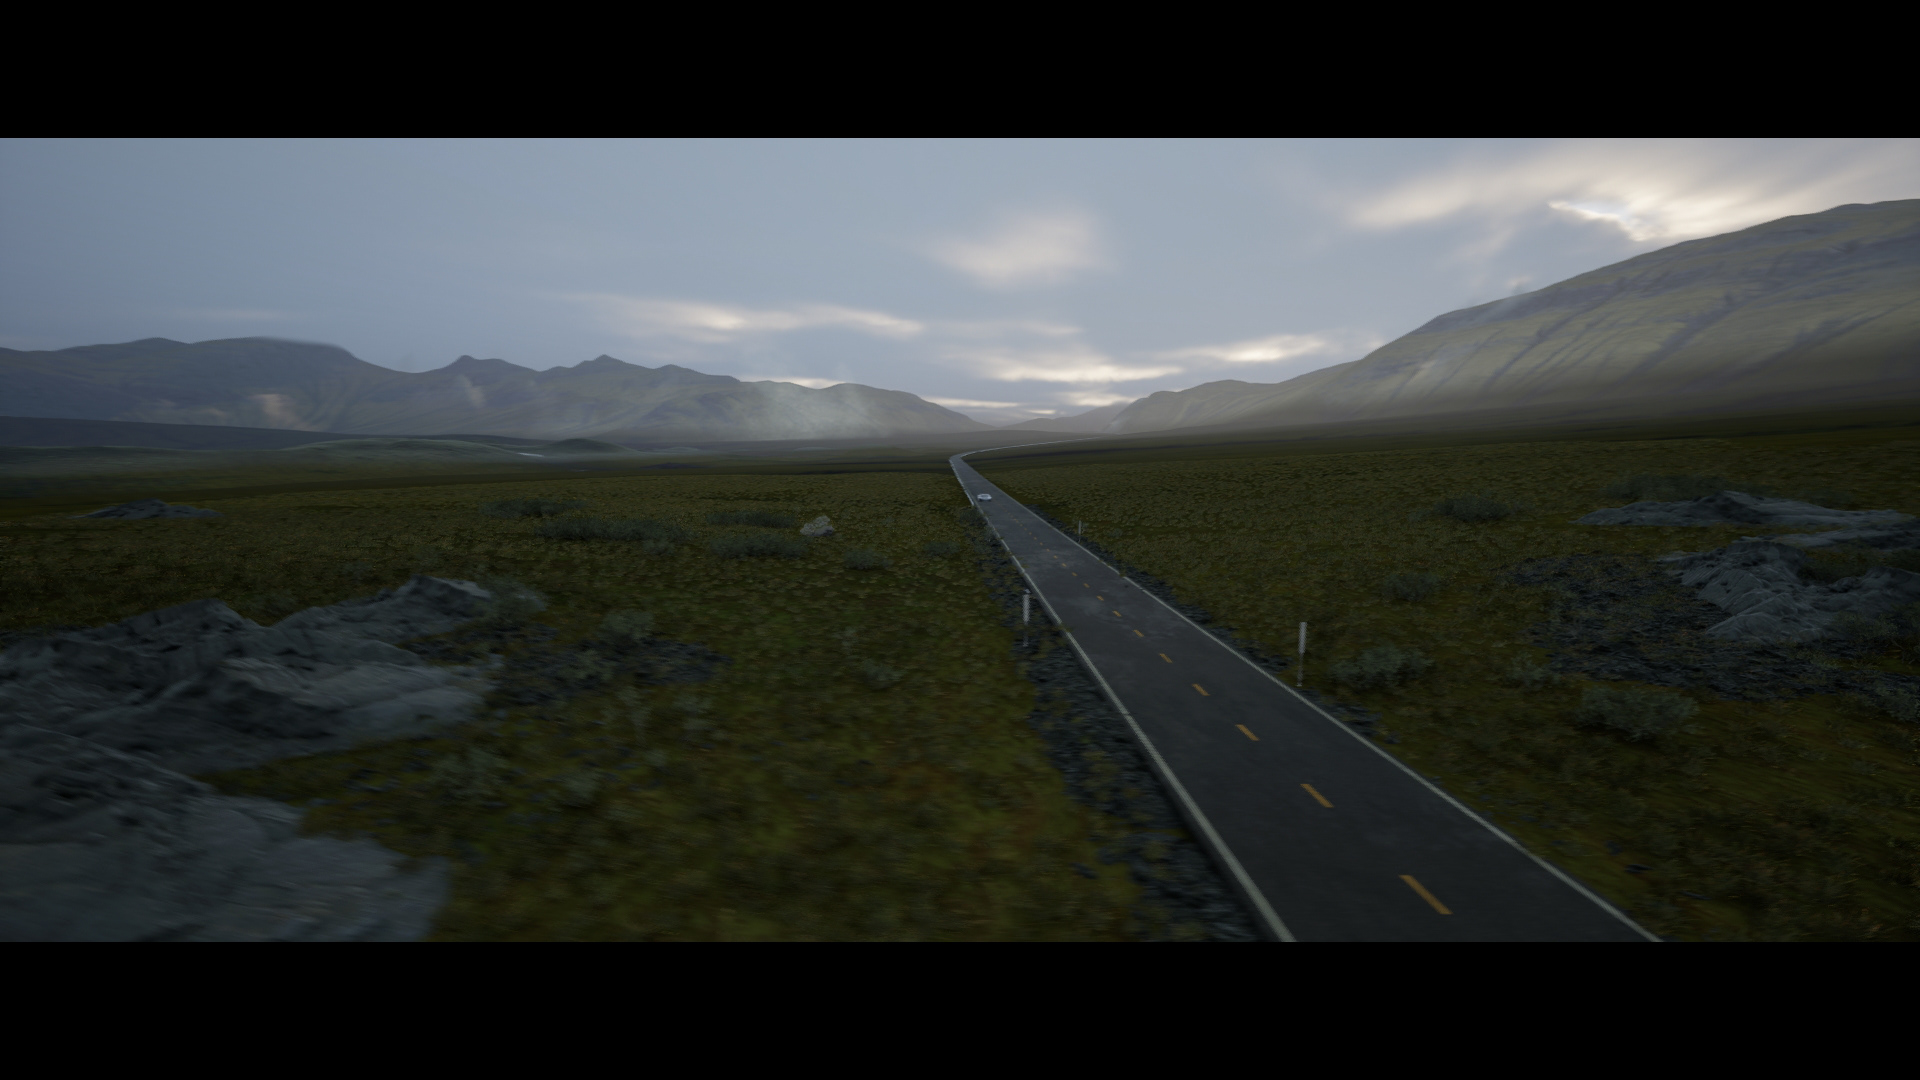
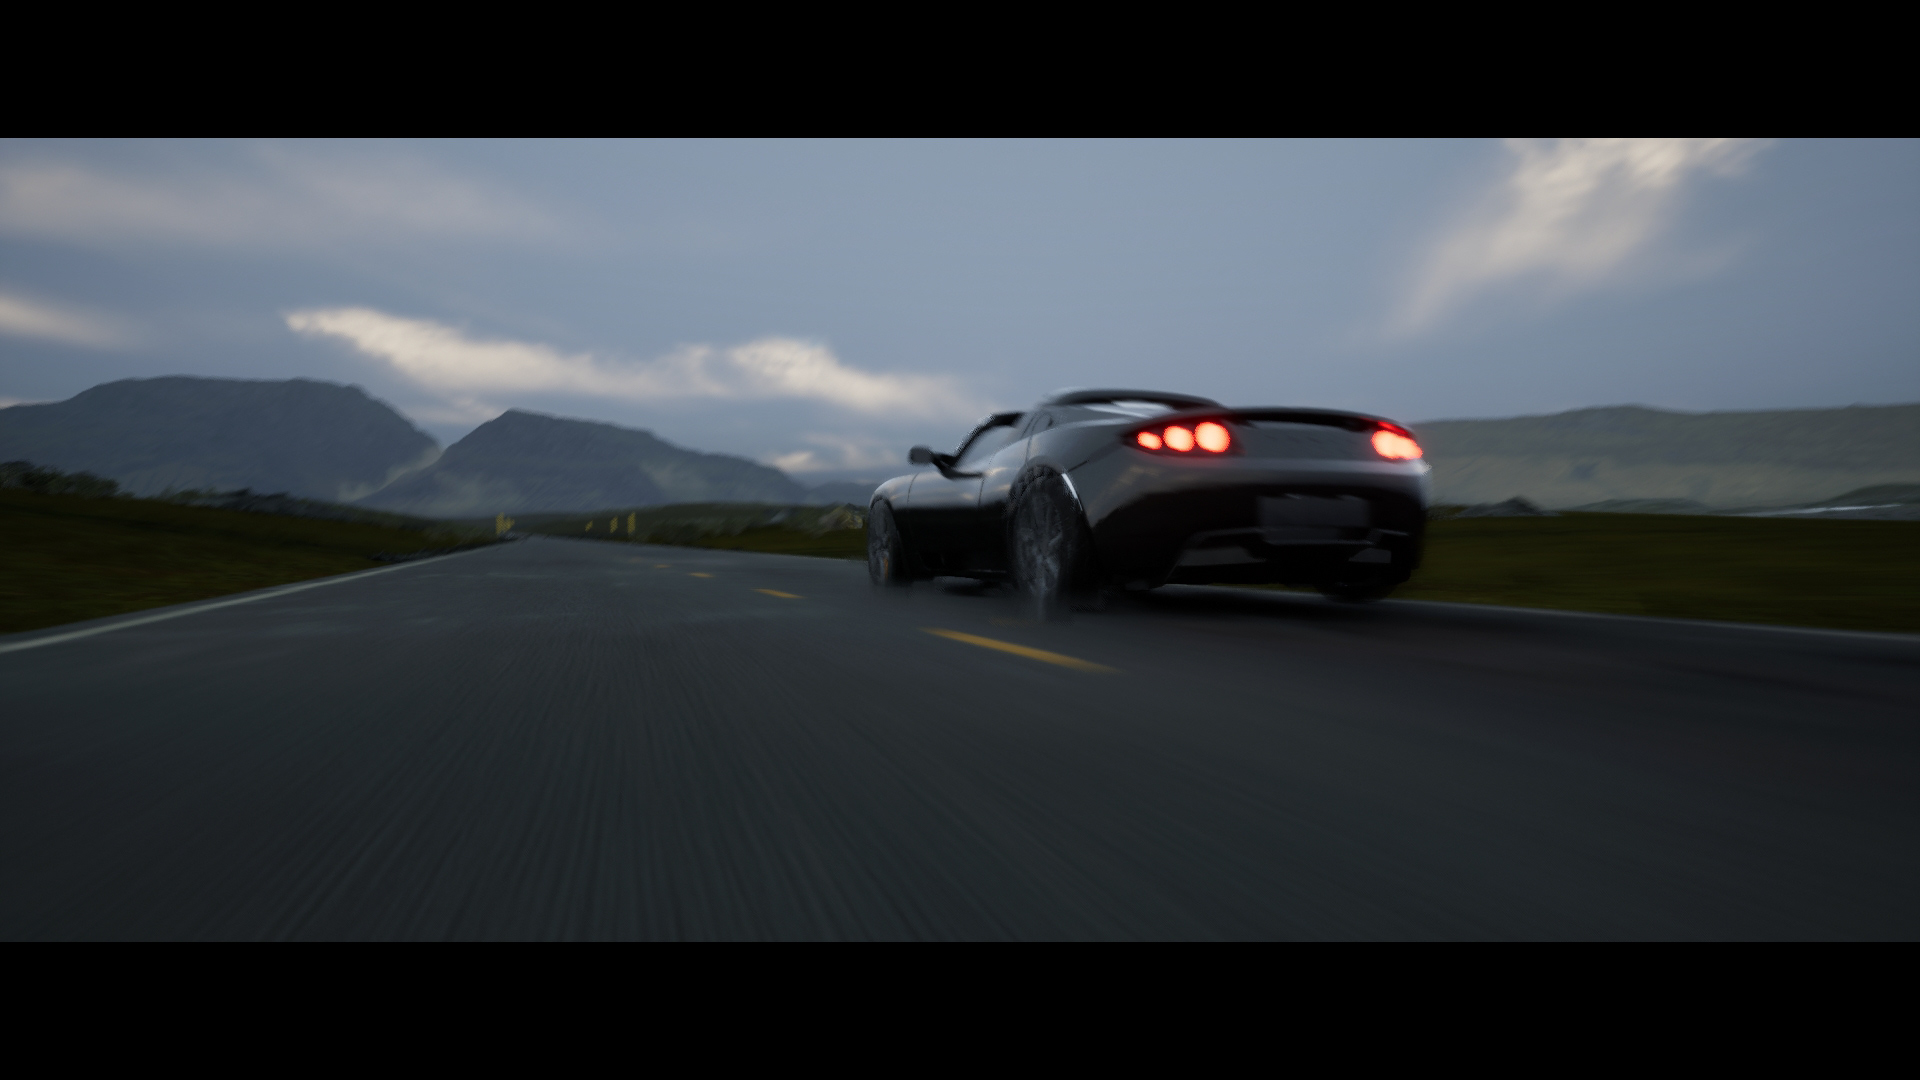
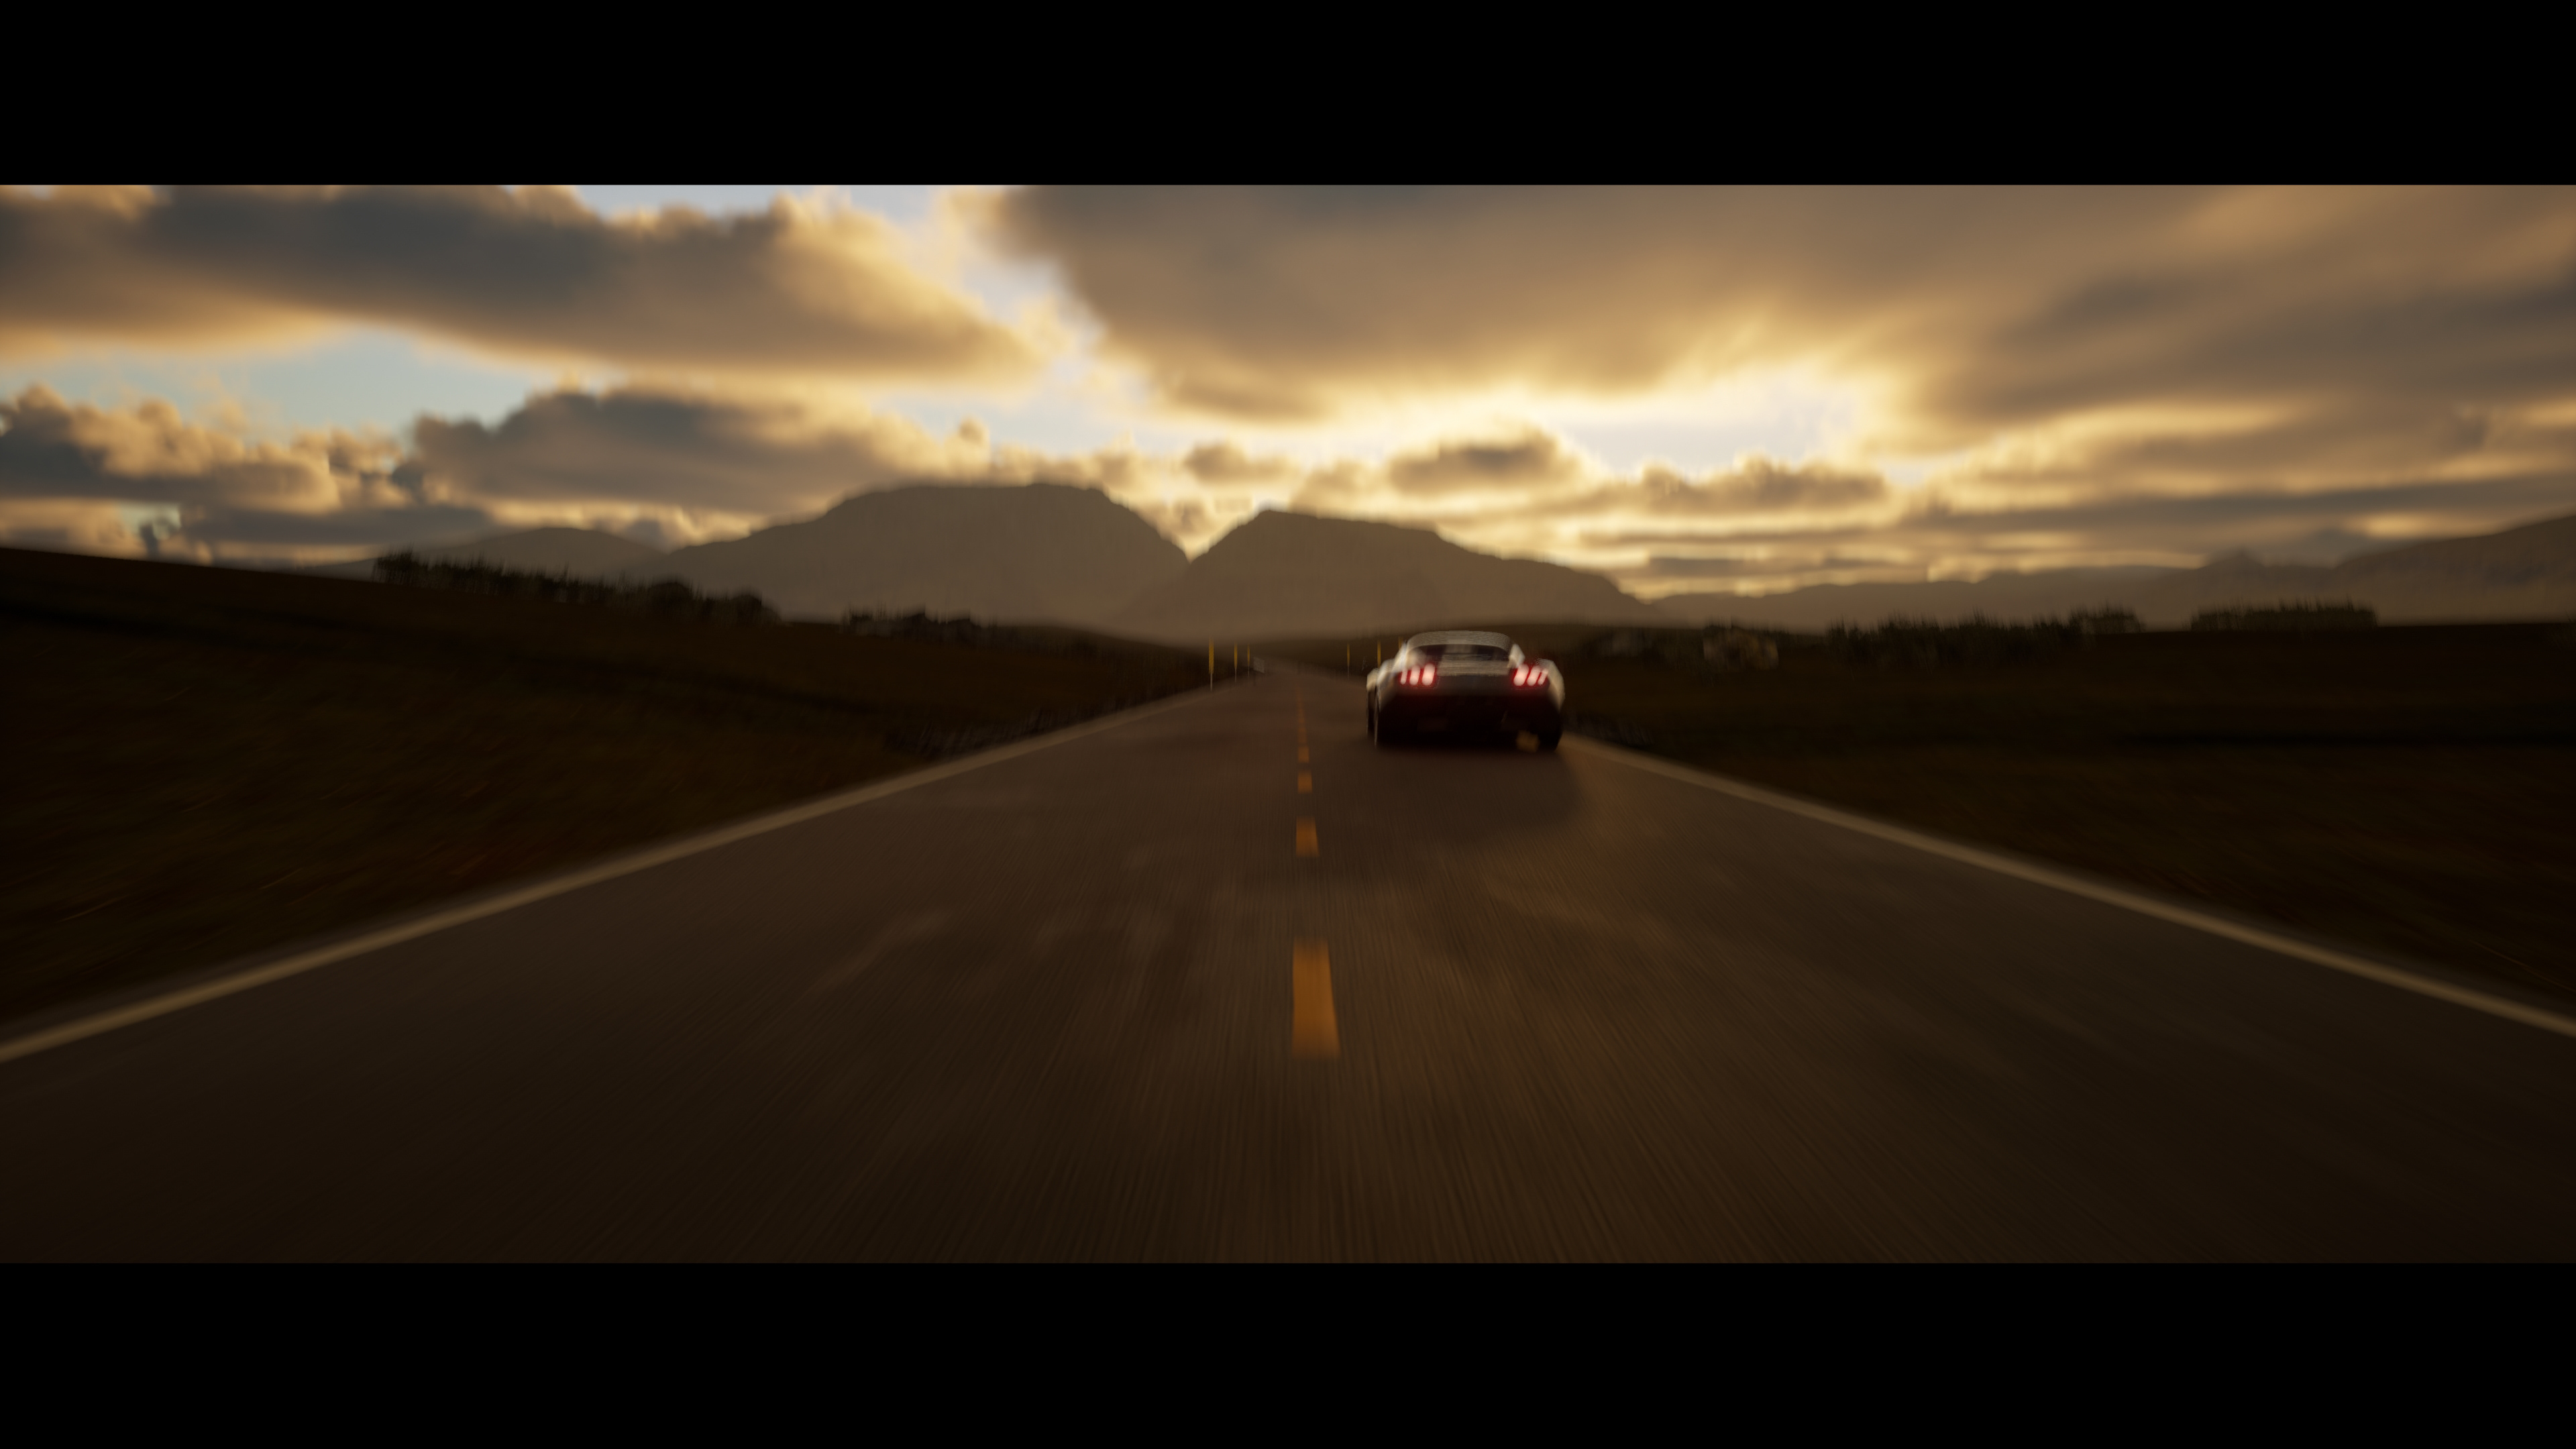
Tesla Sample Animation
Inspiration
After doing some research on Tesla's socials and website, I was drawn to images with the clean, high-tech, high-precision aesthetic that speaks to the build quality of Tesla's product line. I knew I wanted to capture this feeling in my animation. I was also drawn to some of the user-submitted photos that Tesla had reposted on their Instagram - photos from eye-popping landscapes like Iceland and Norway. I wanted to combine these two visual motifs to show that Tesla builds the highest quality vehicles, and that people truly love to drive them.
Moodboard Images
Leveraging Existing Assets
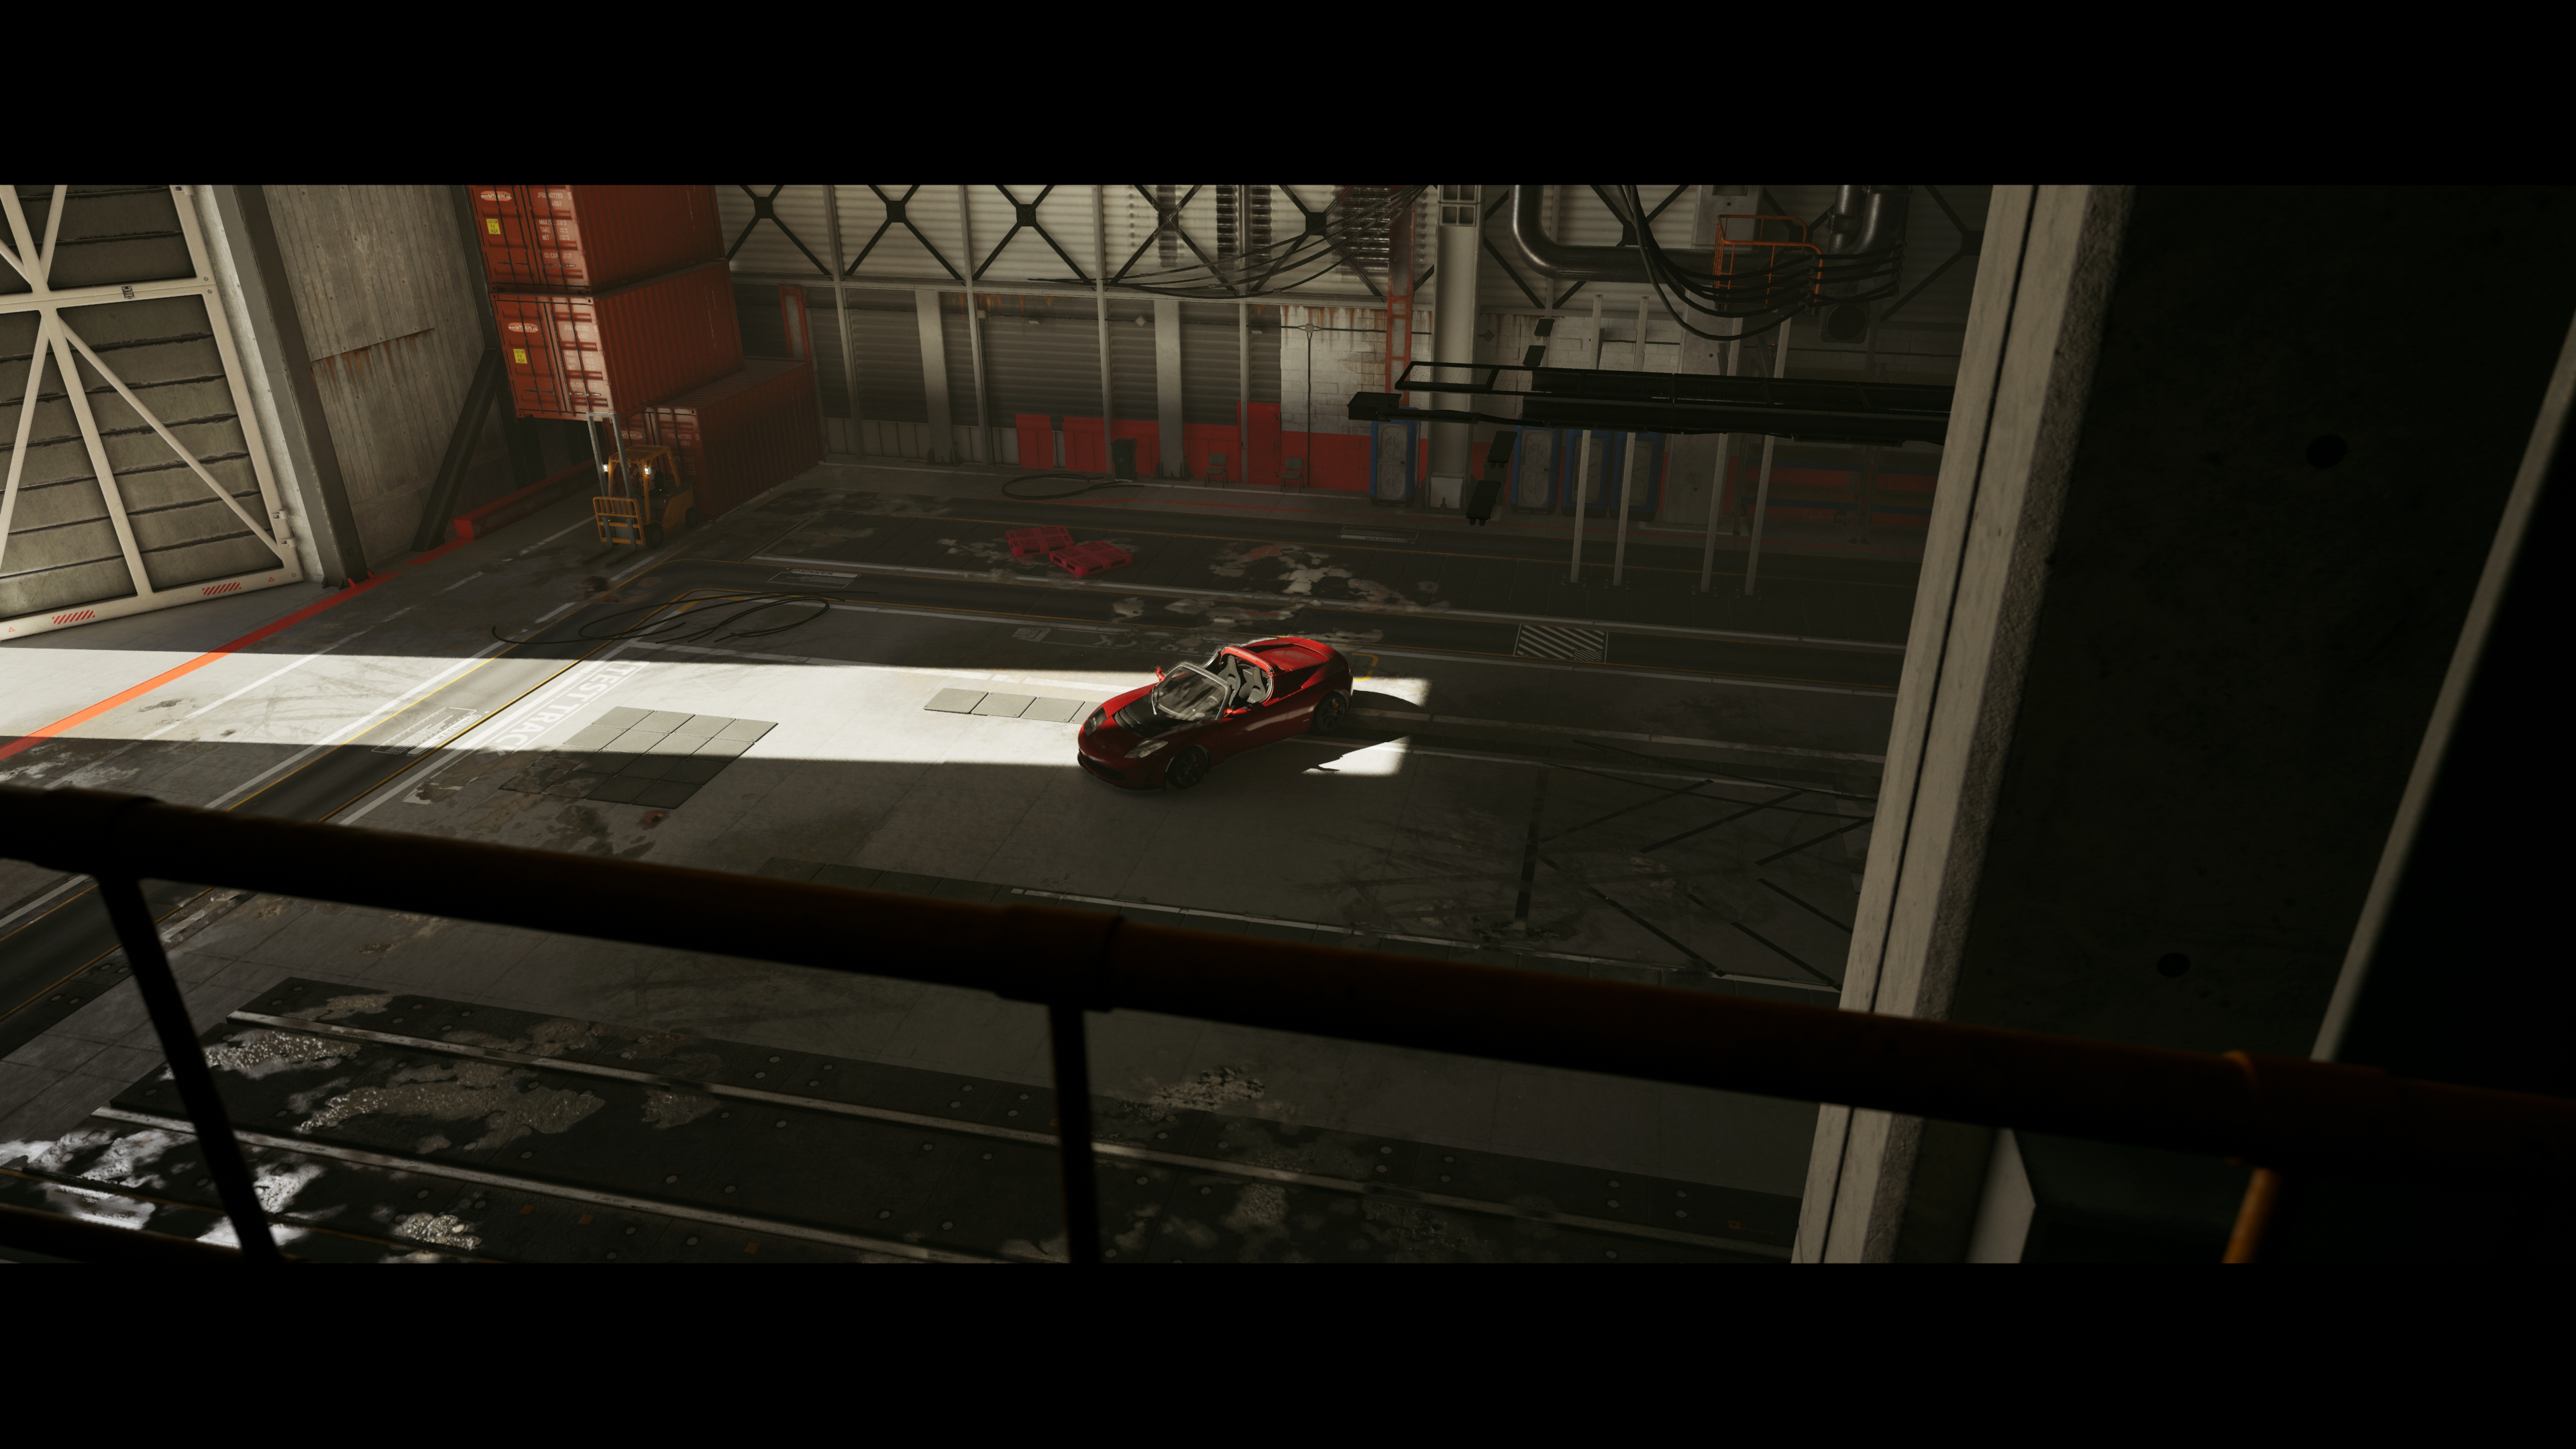
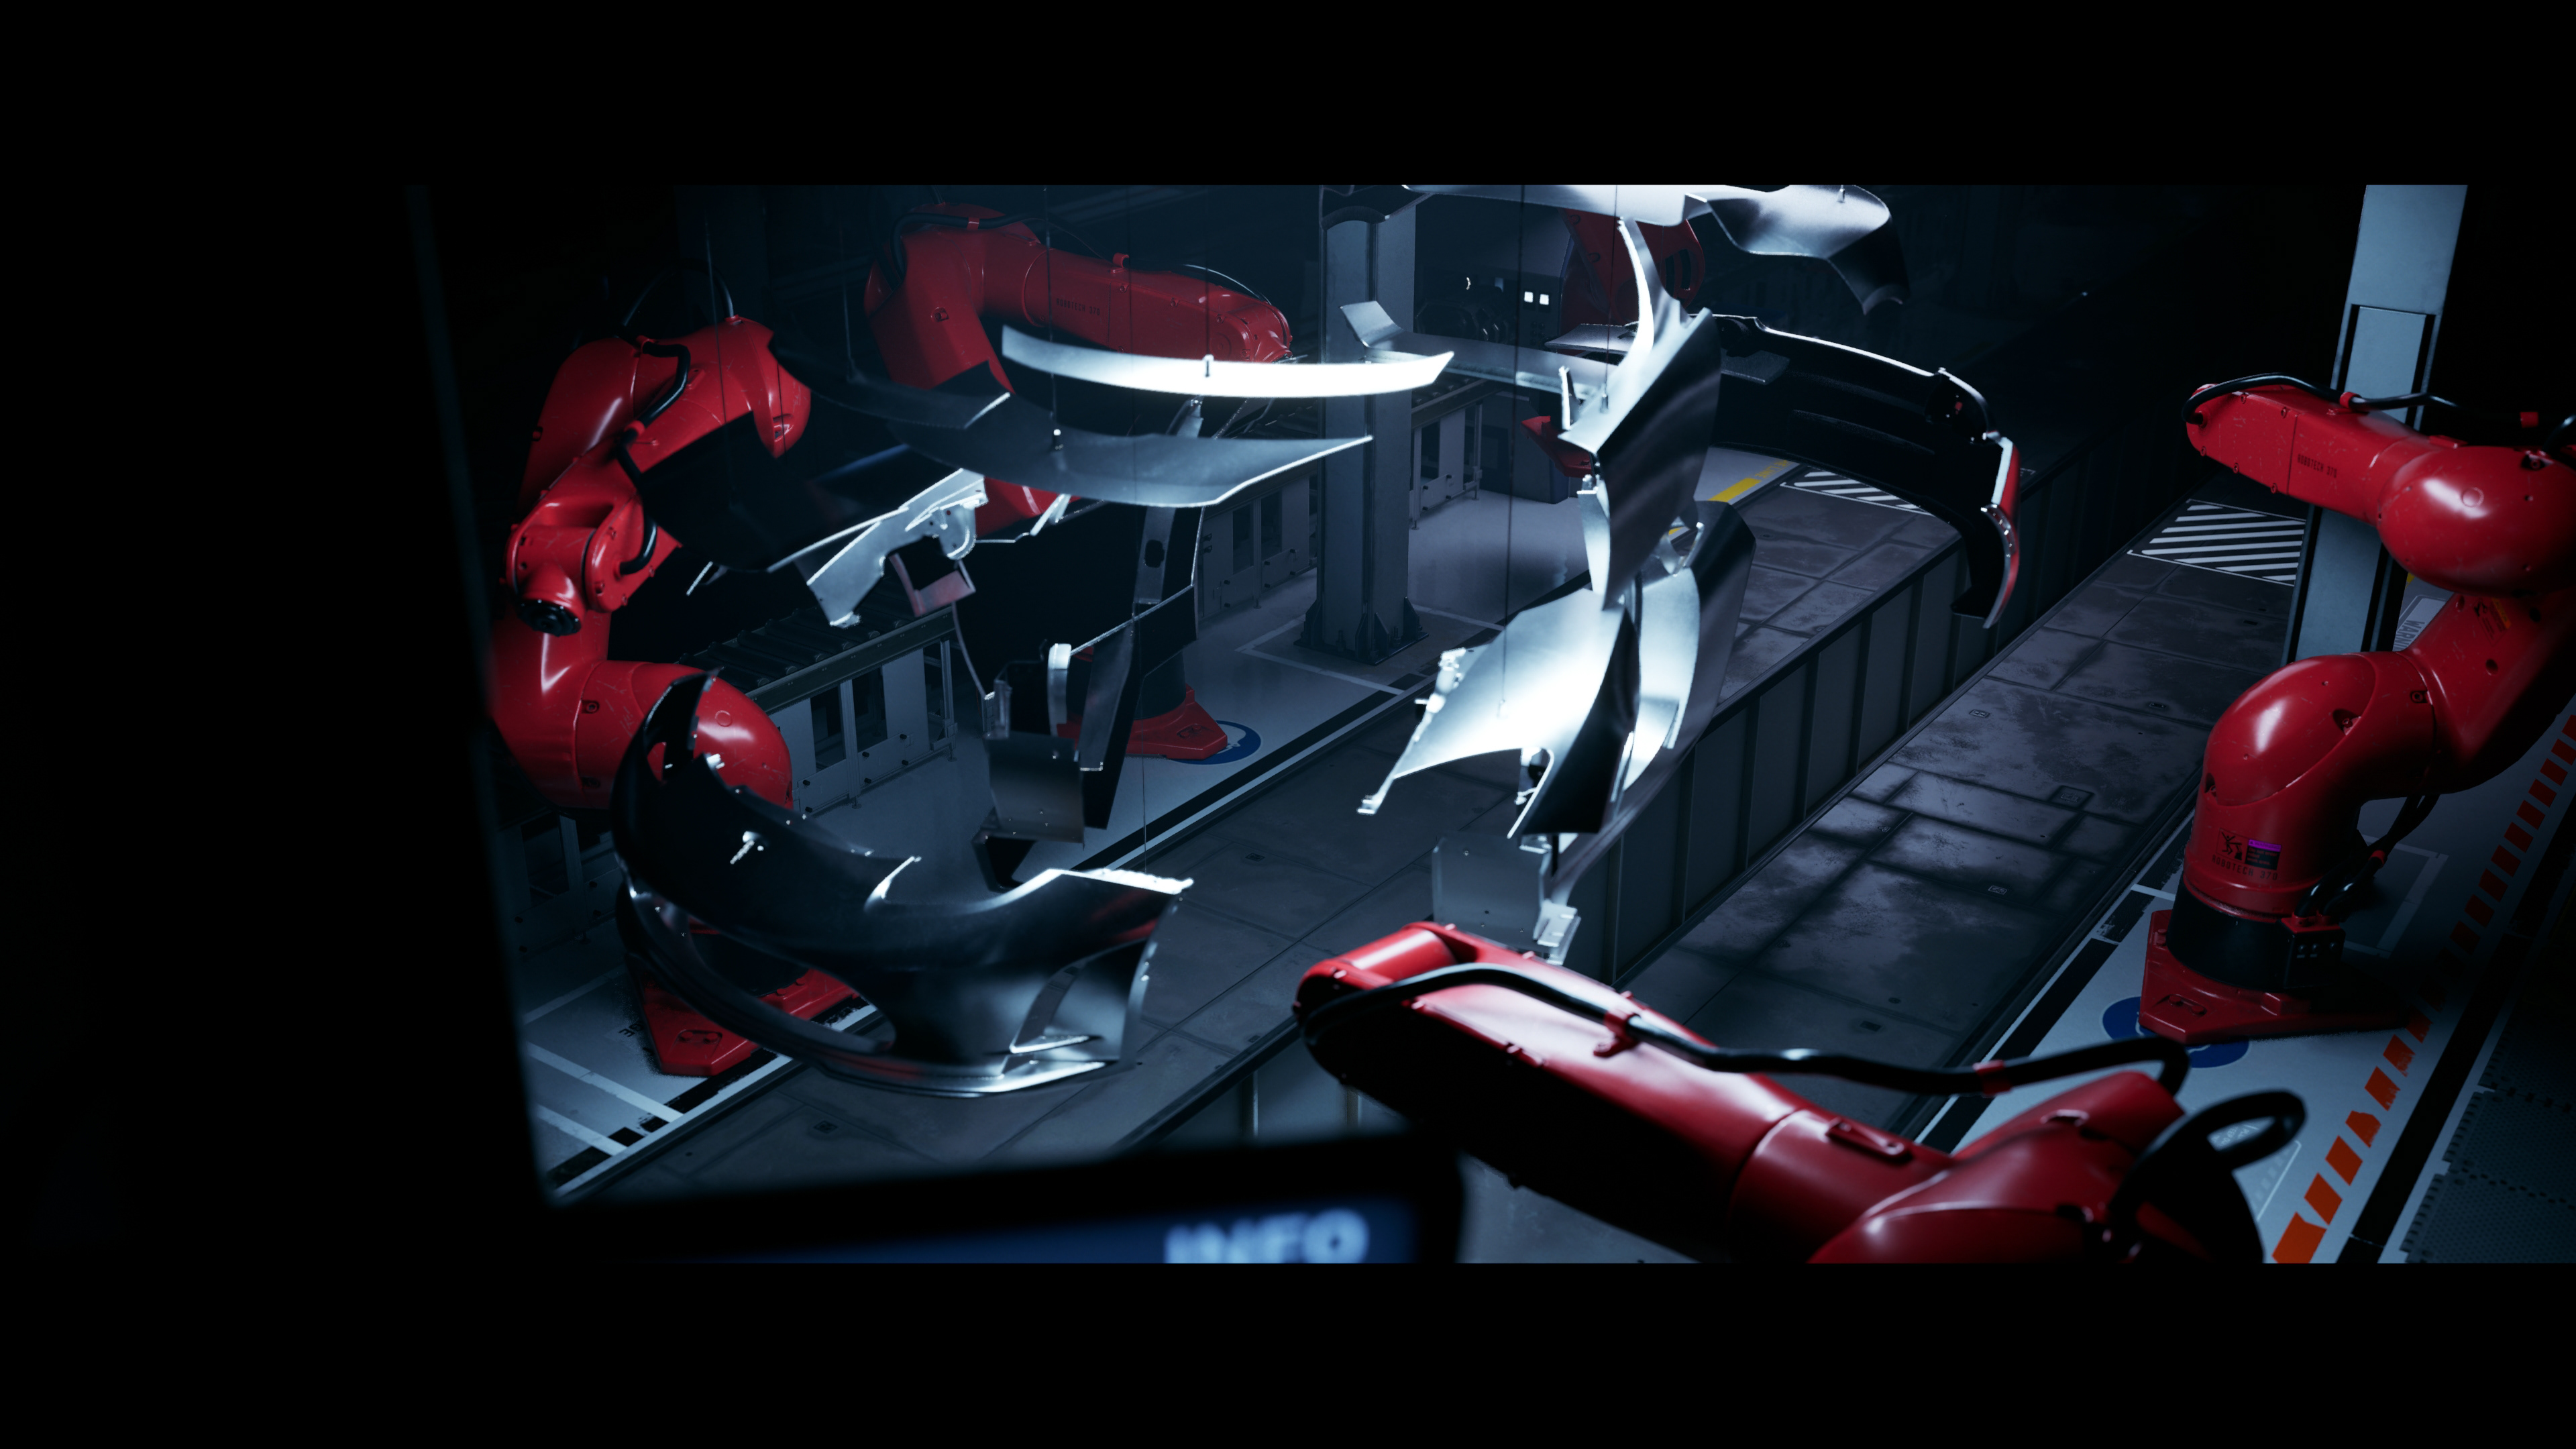
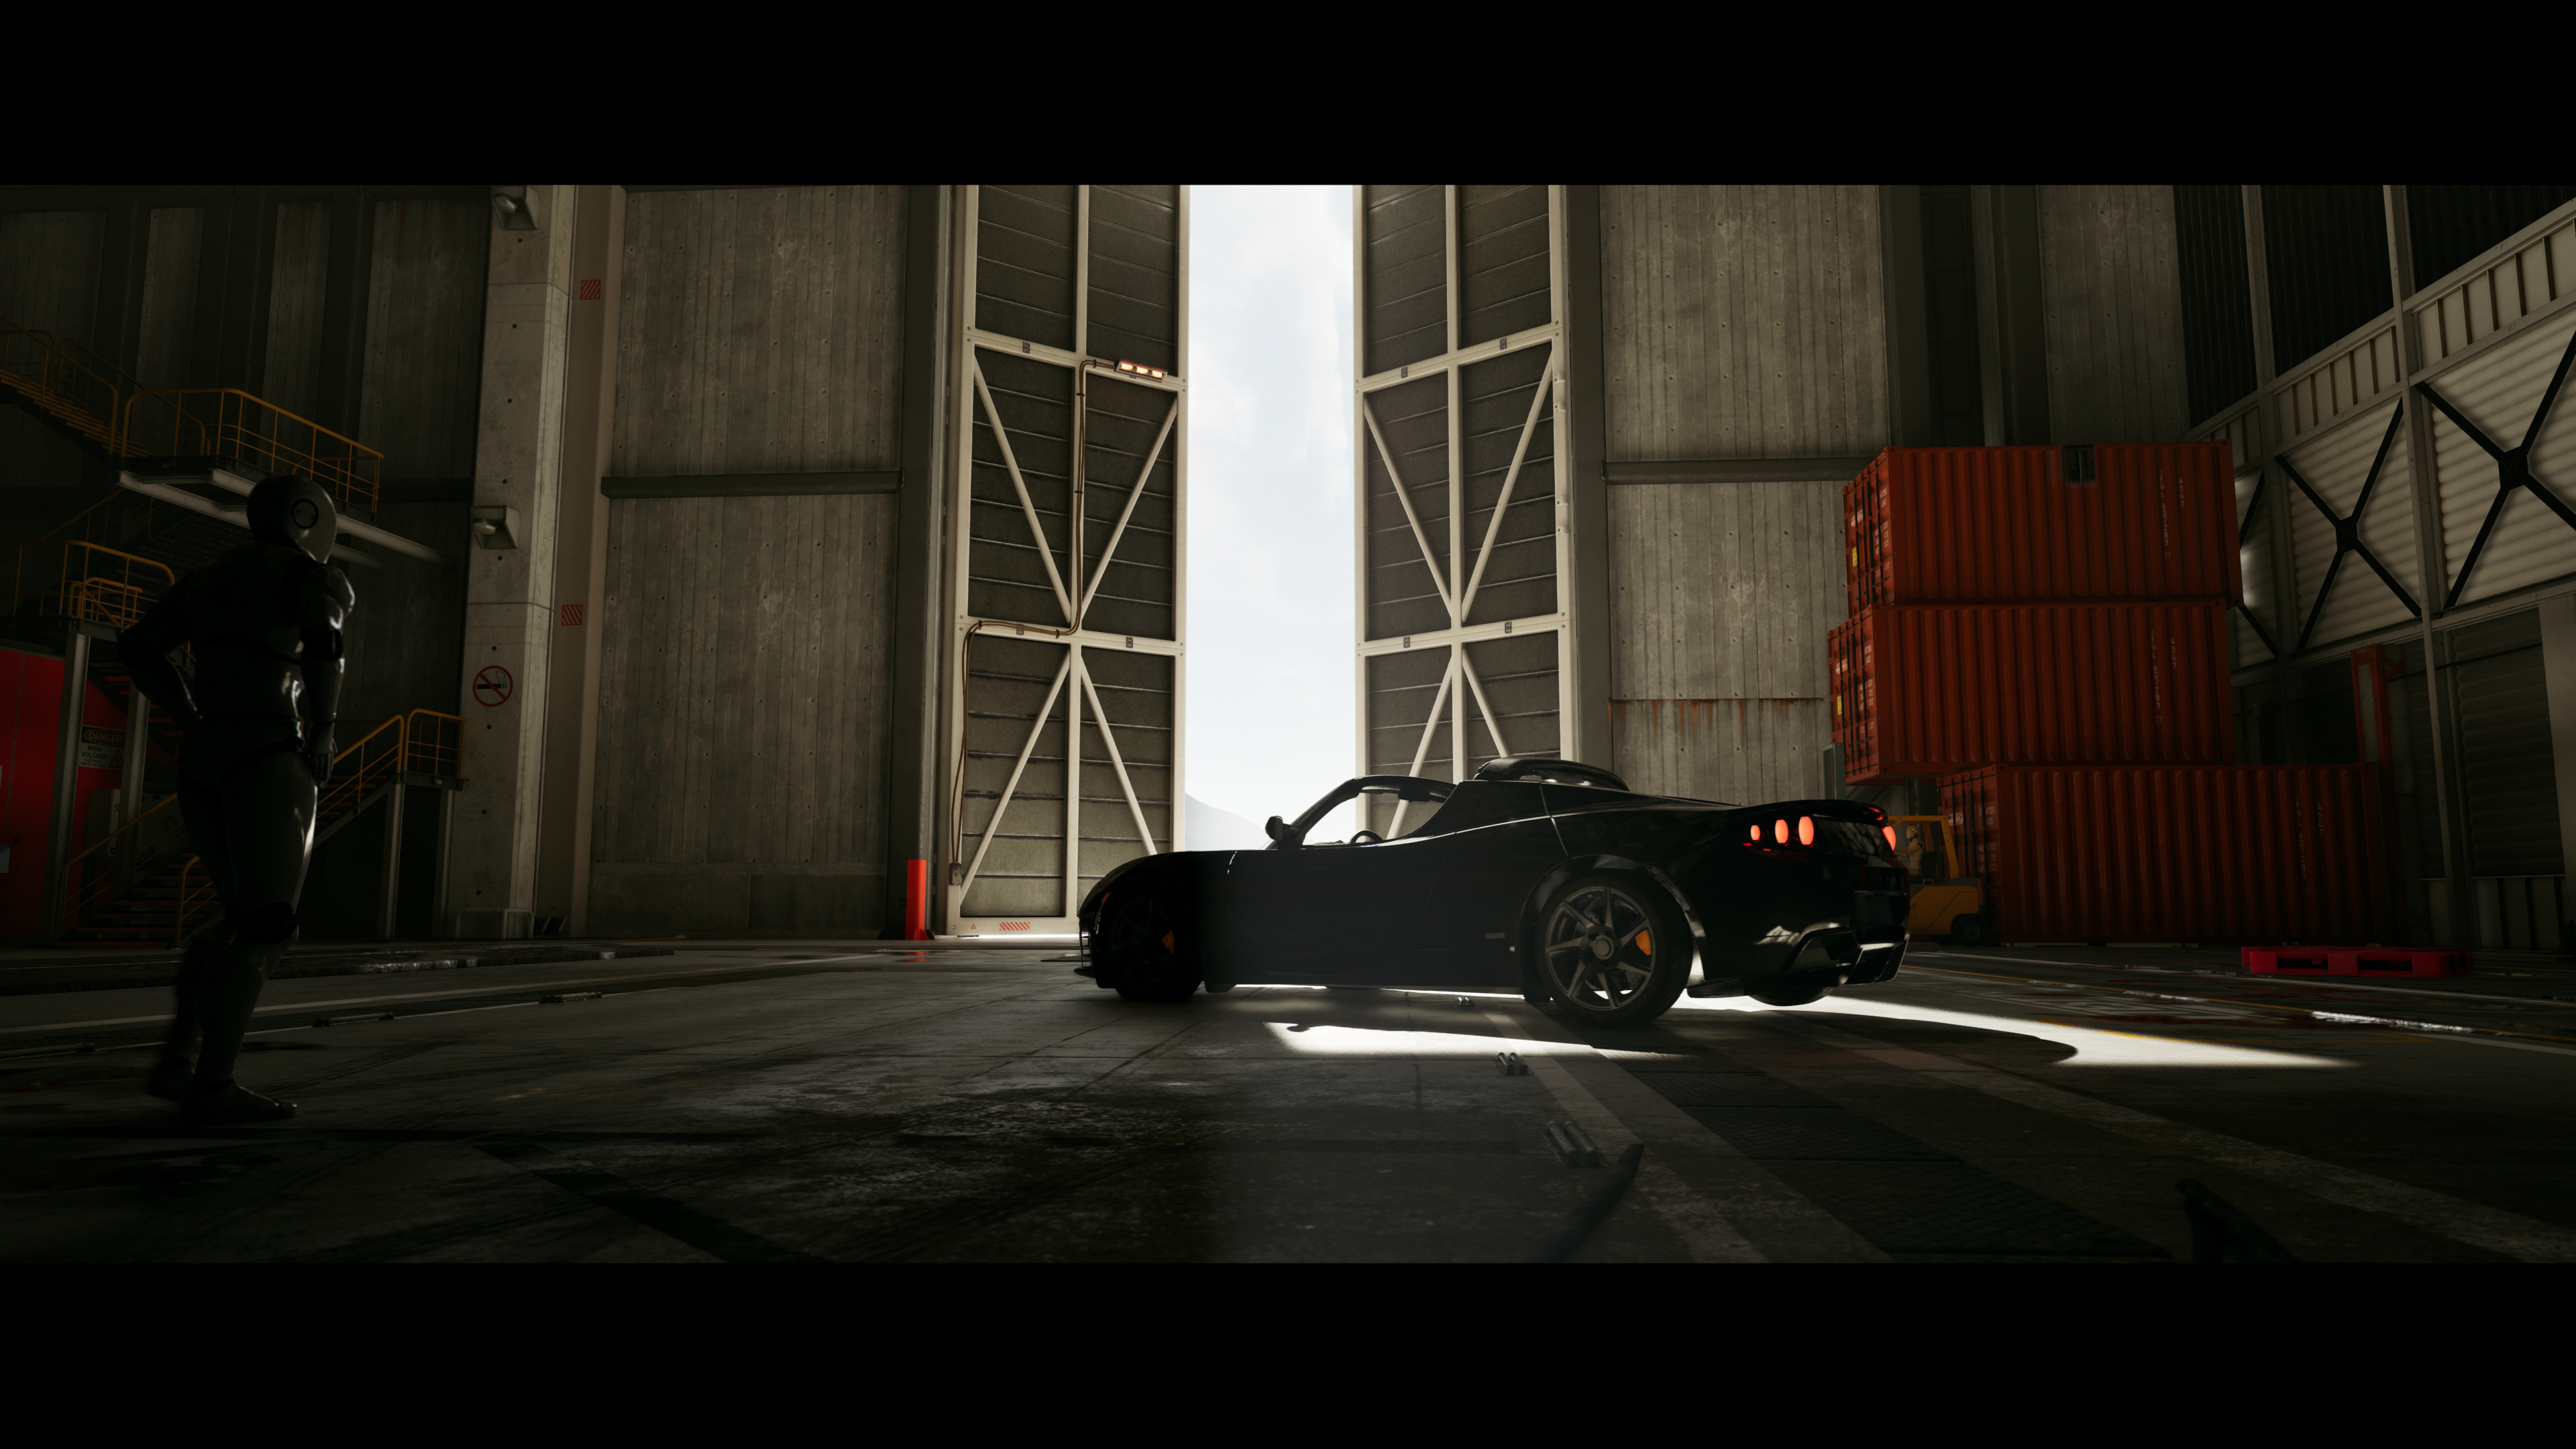
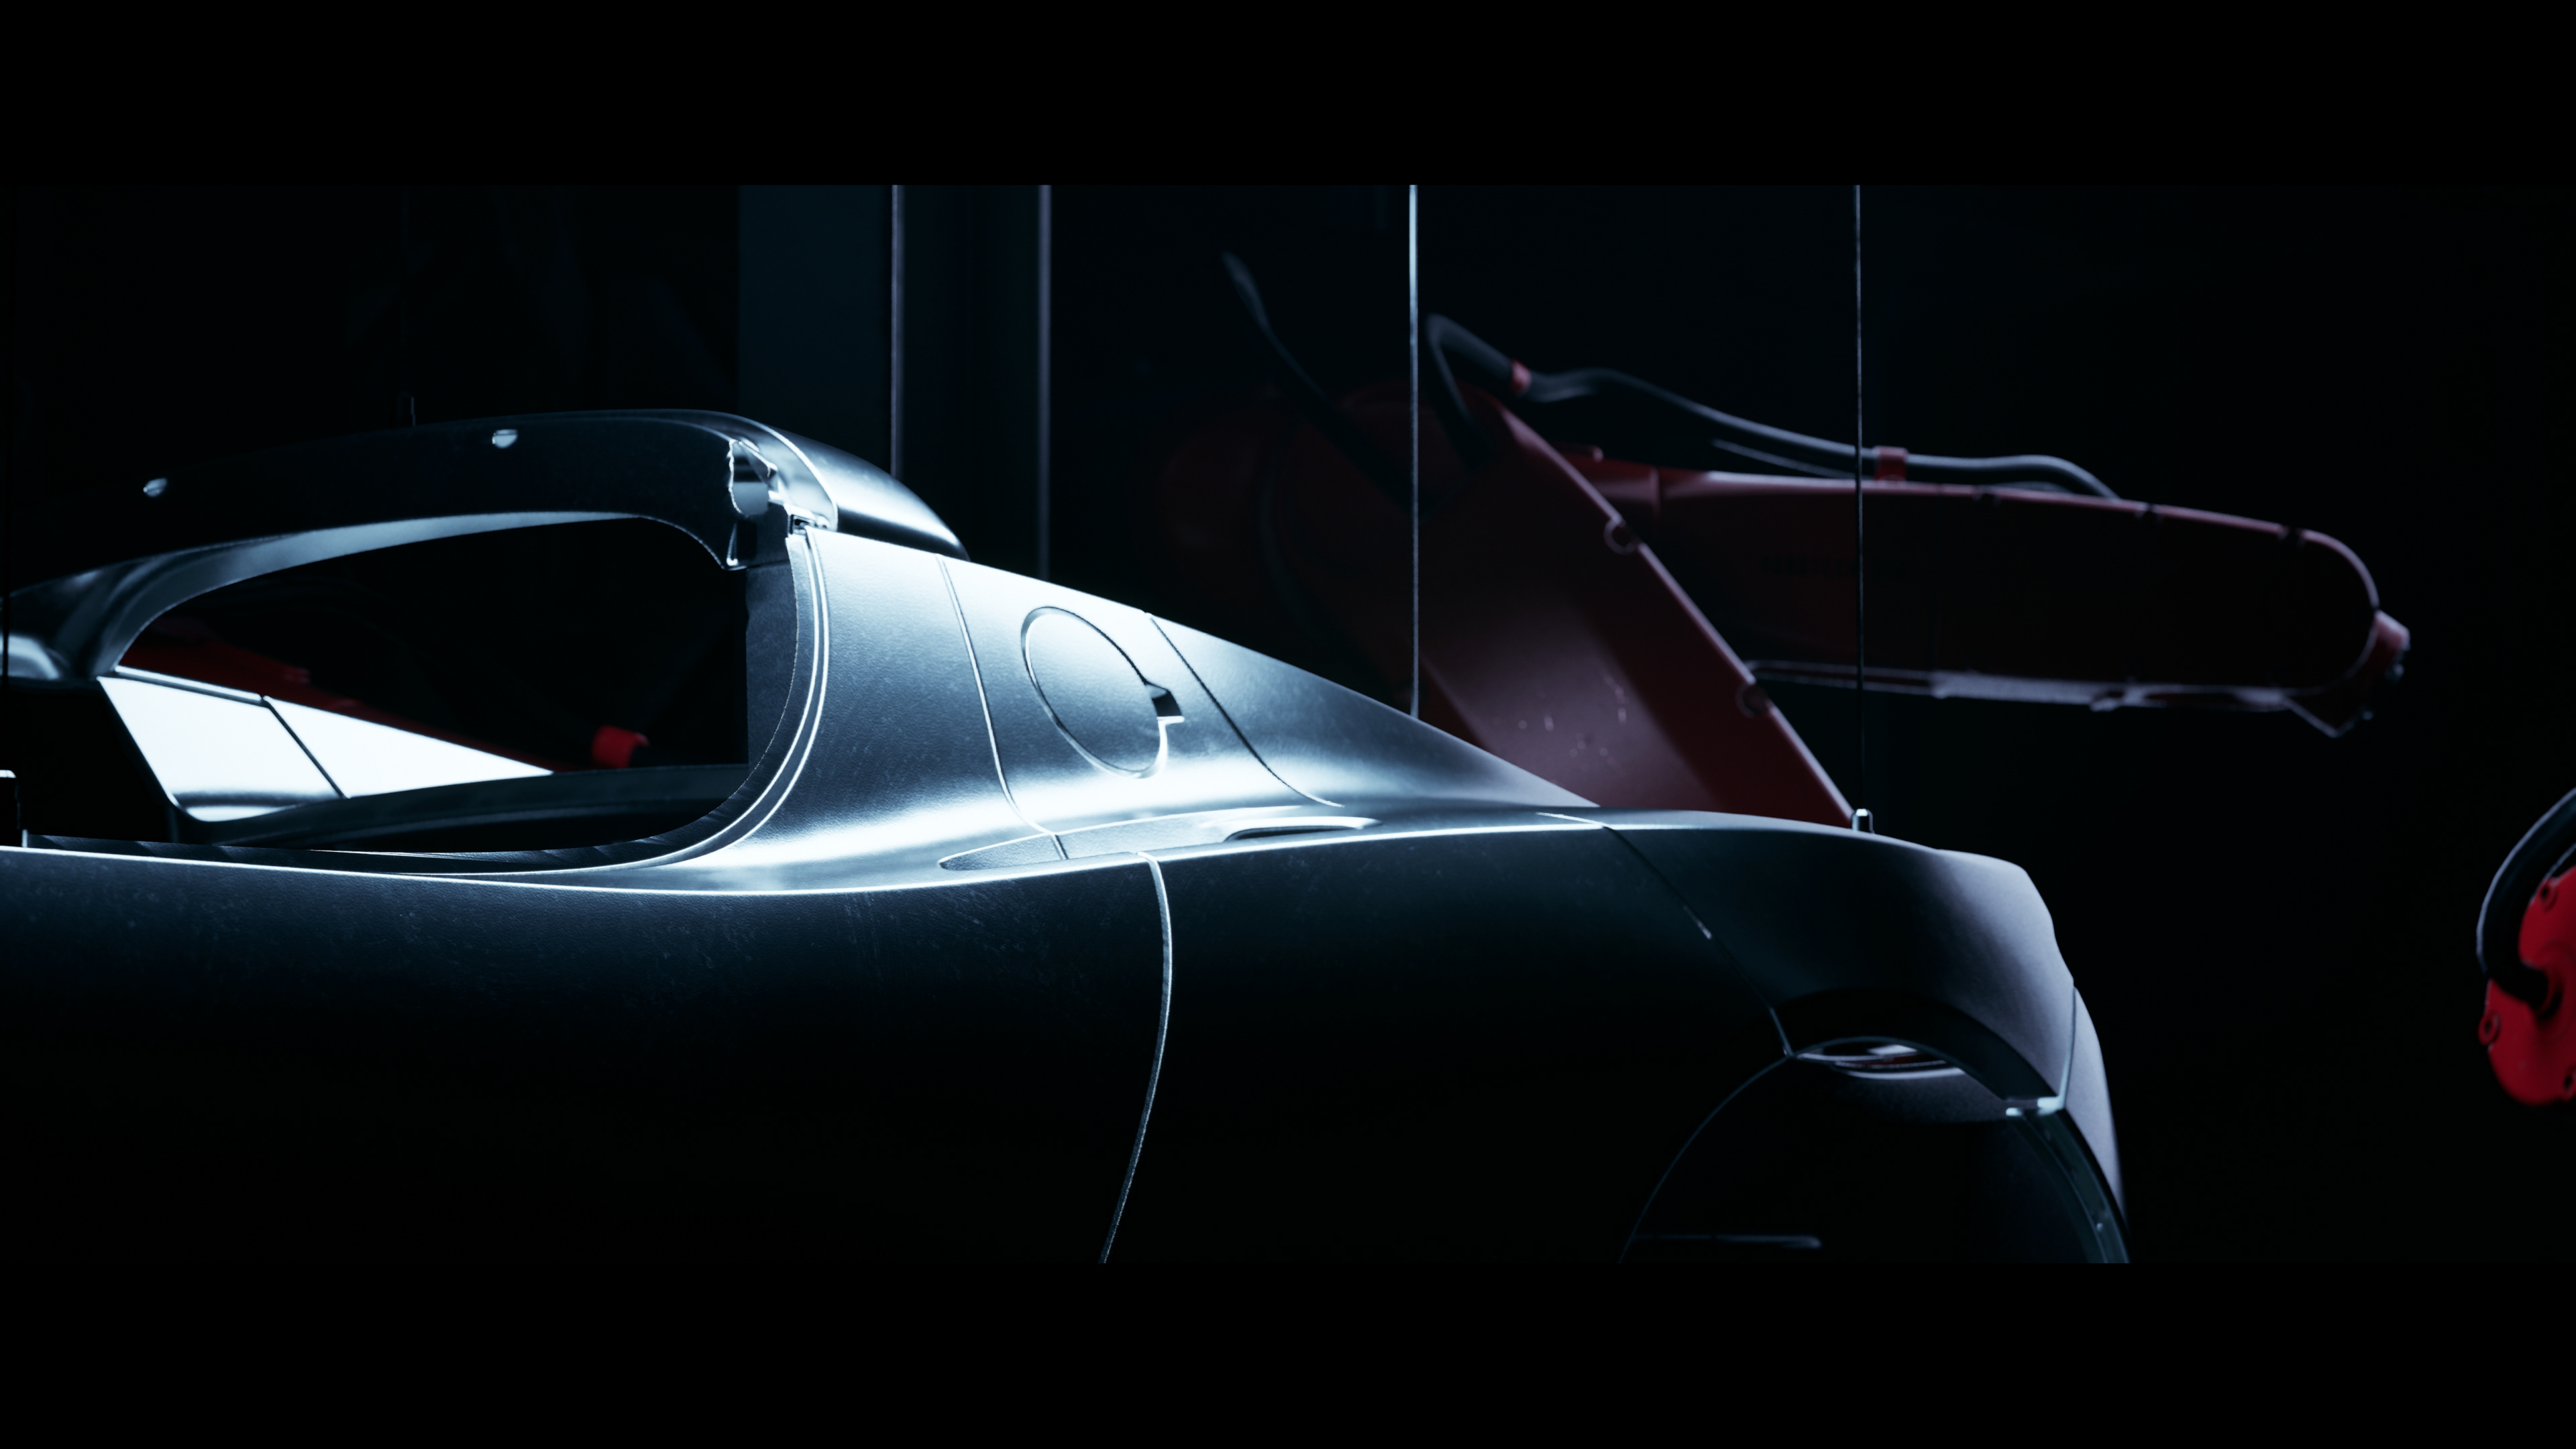
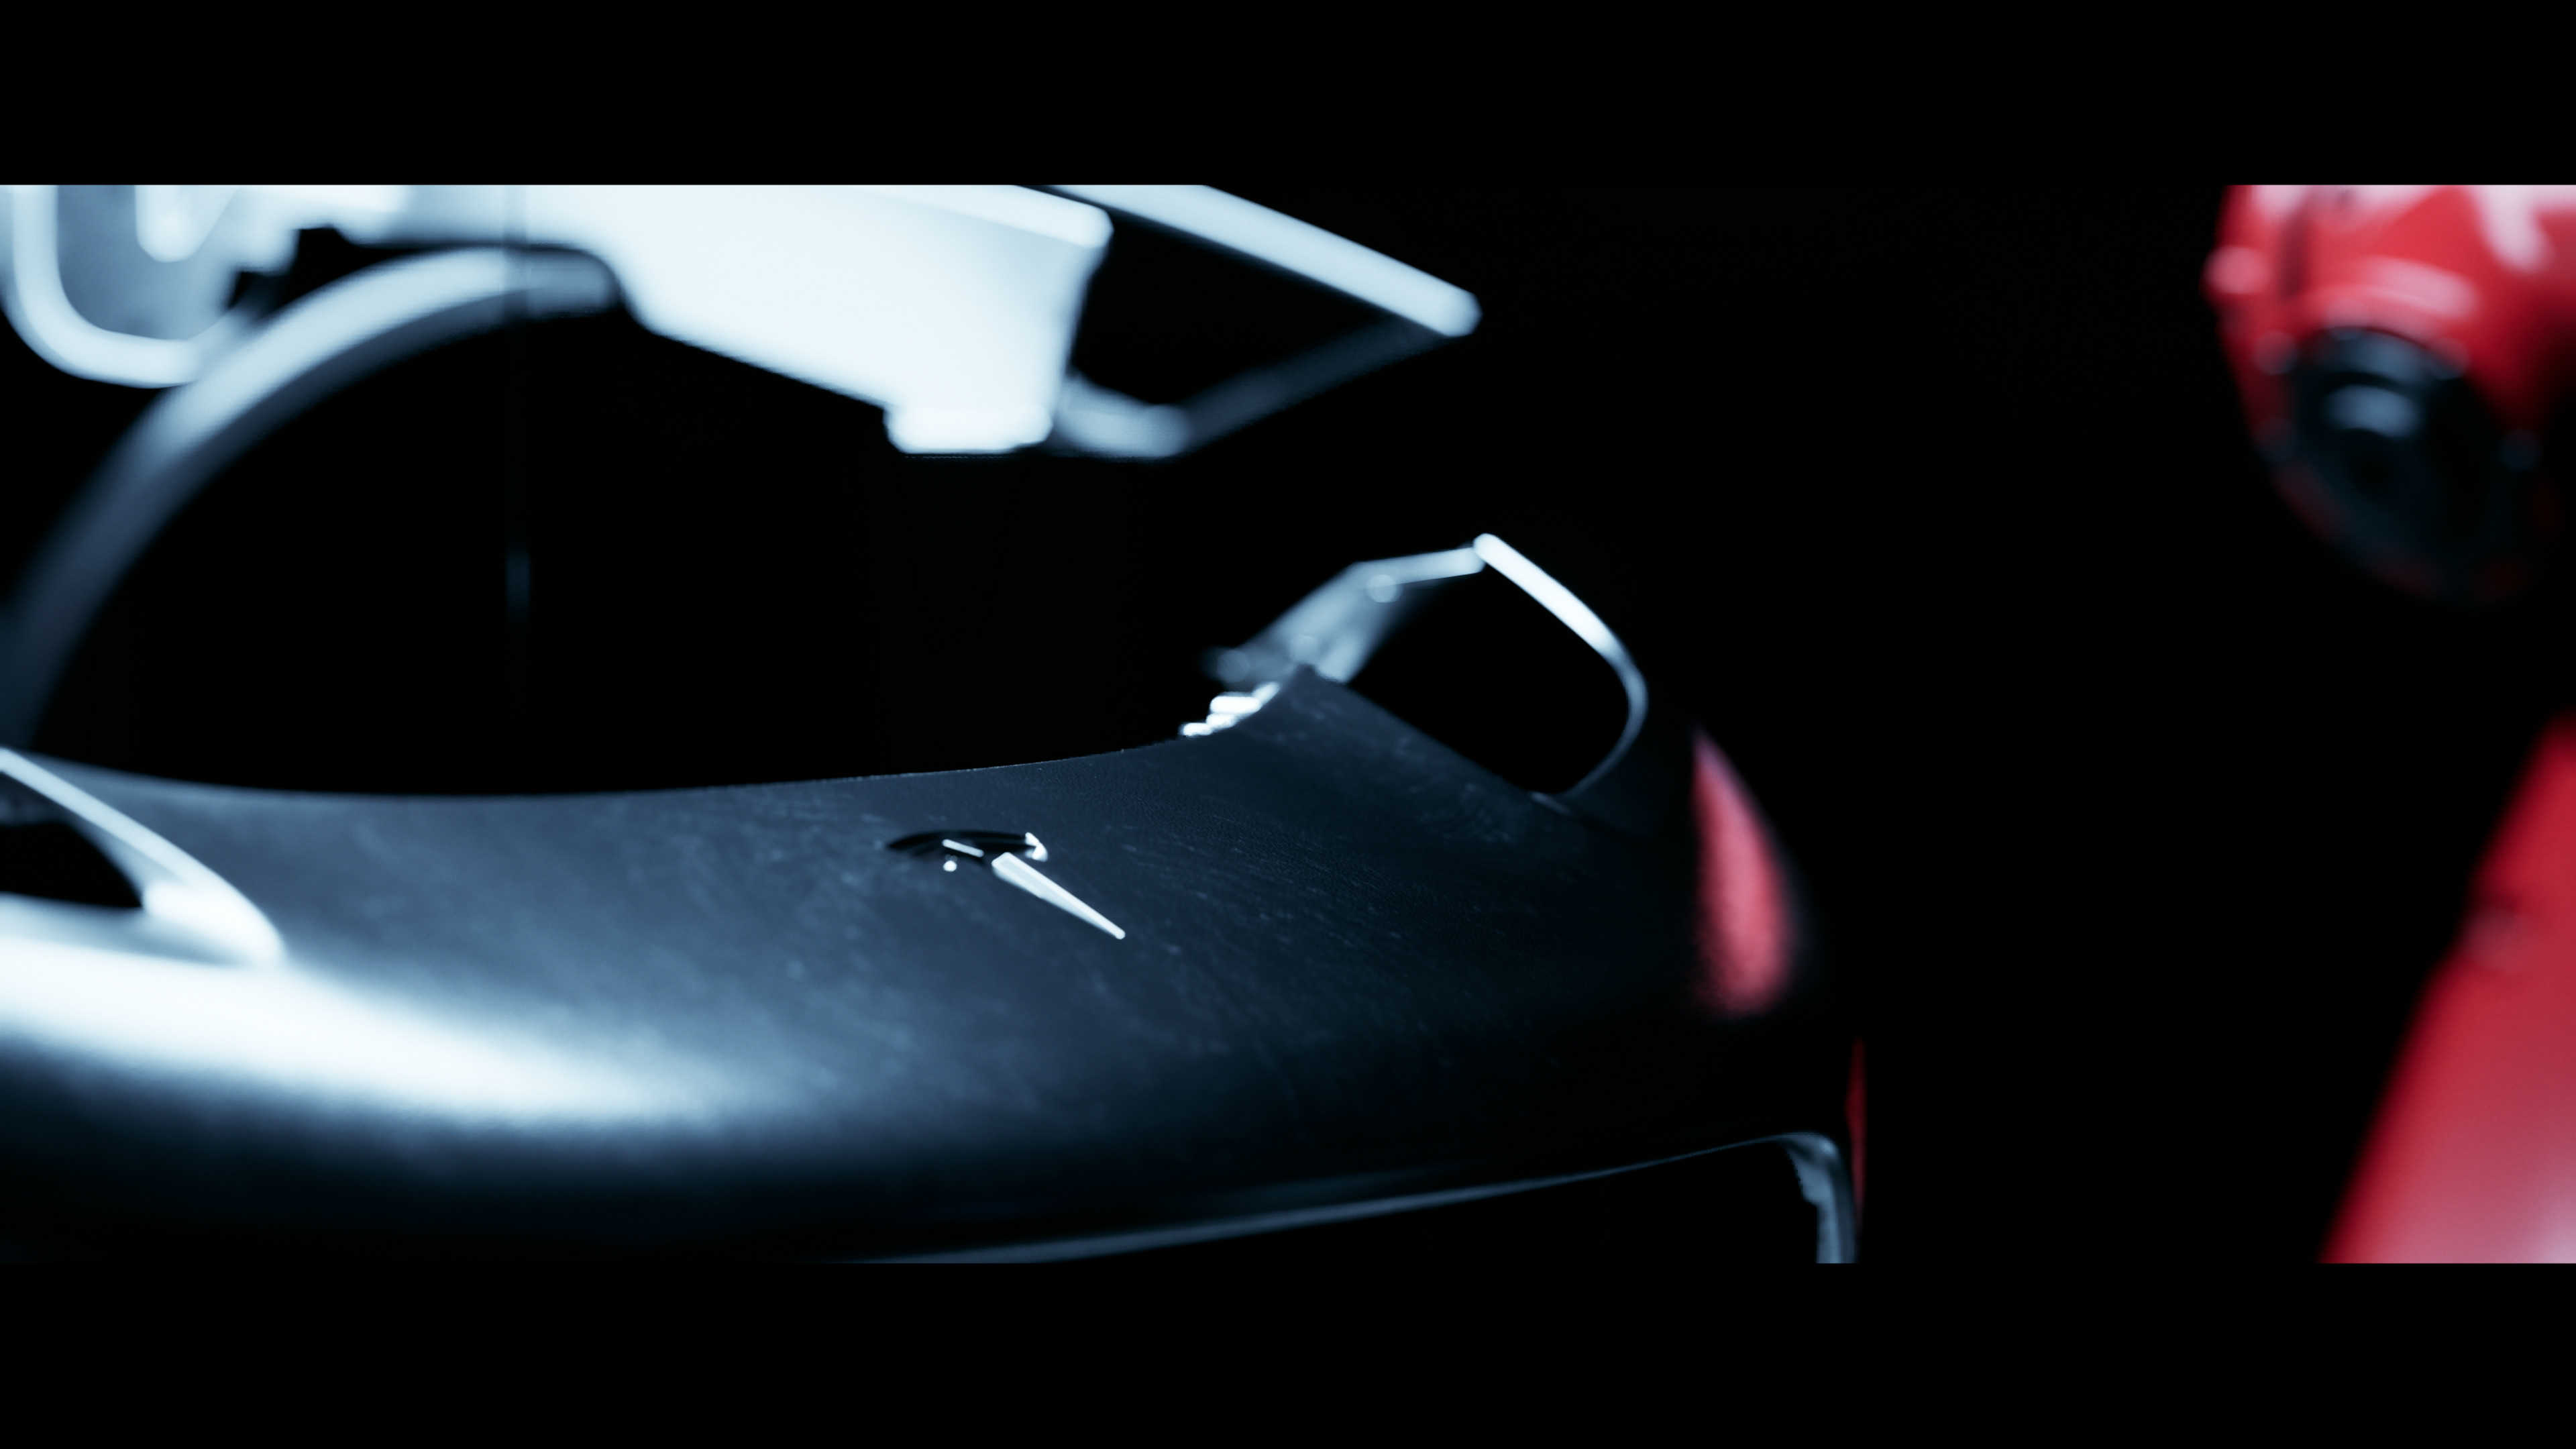
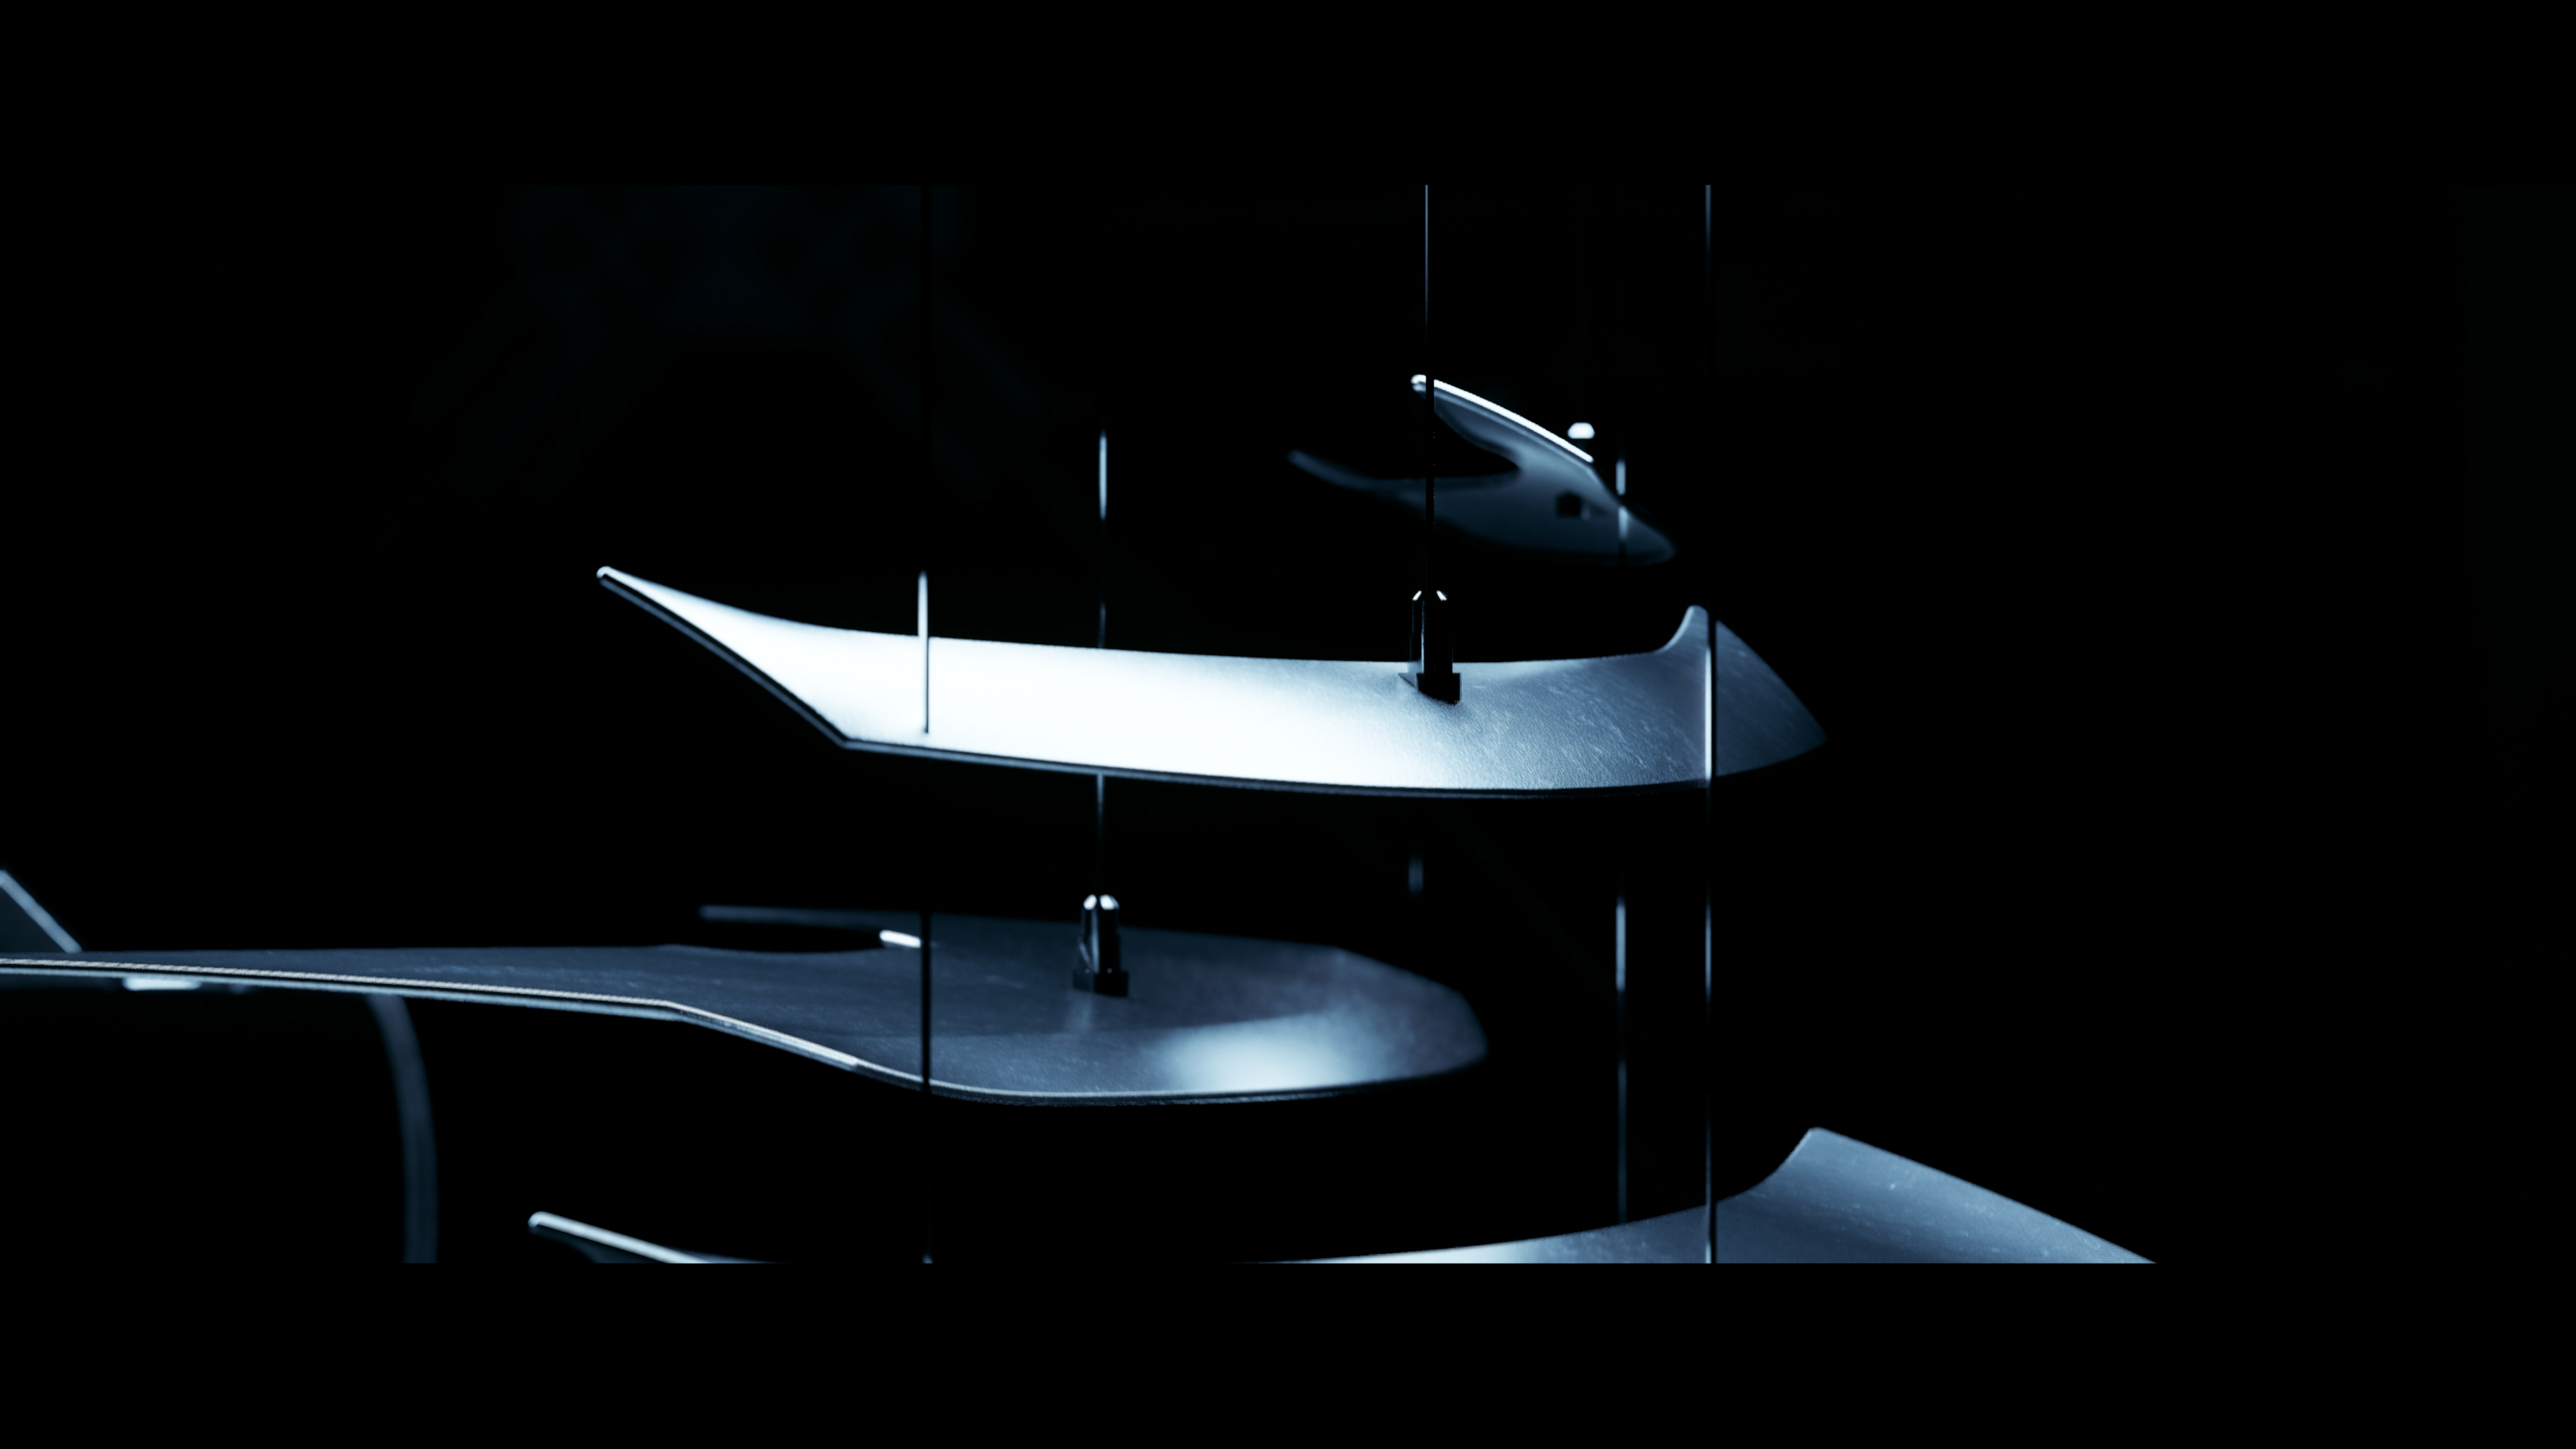
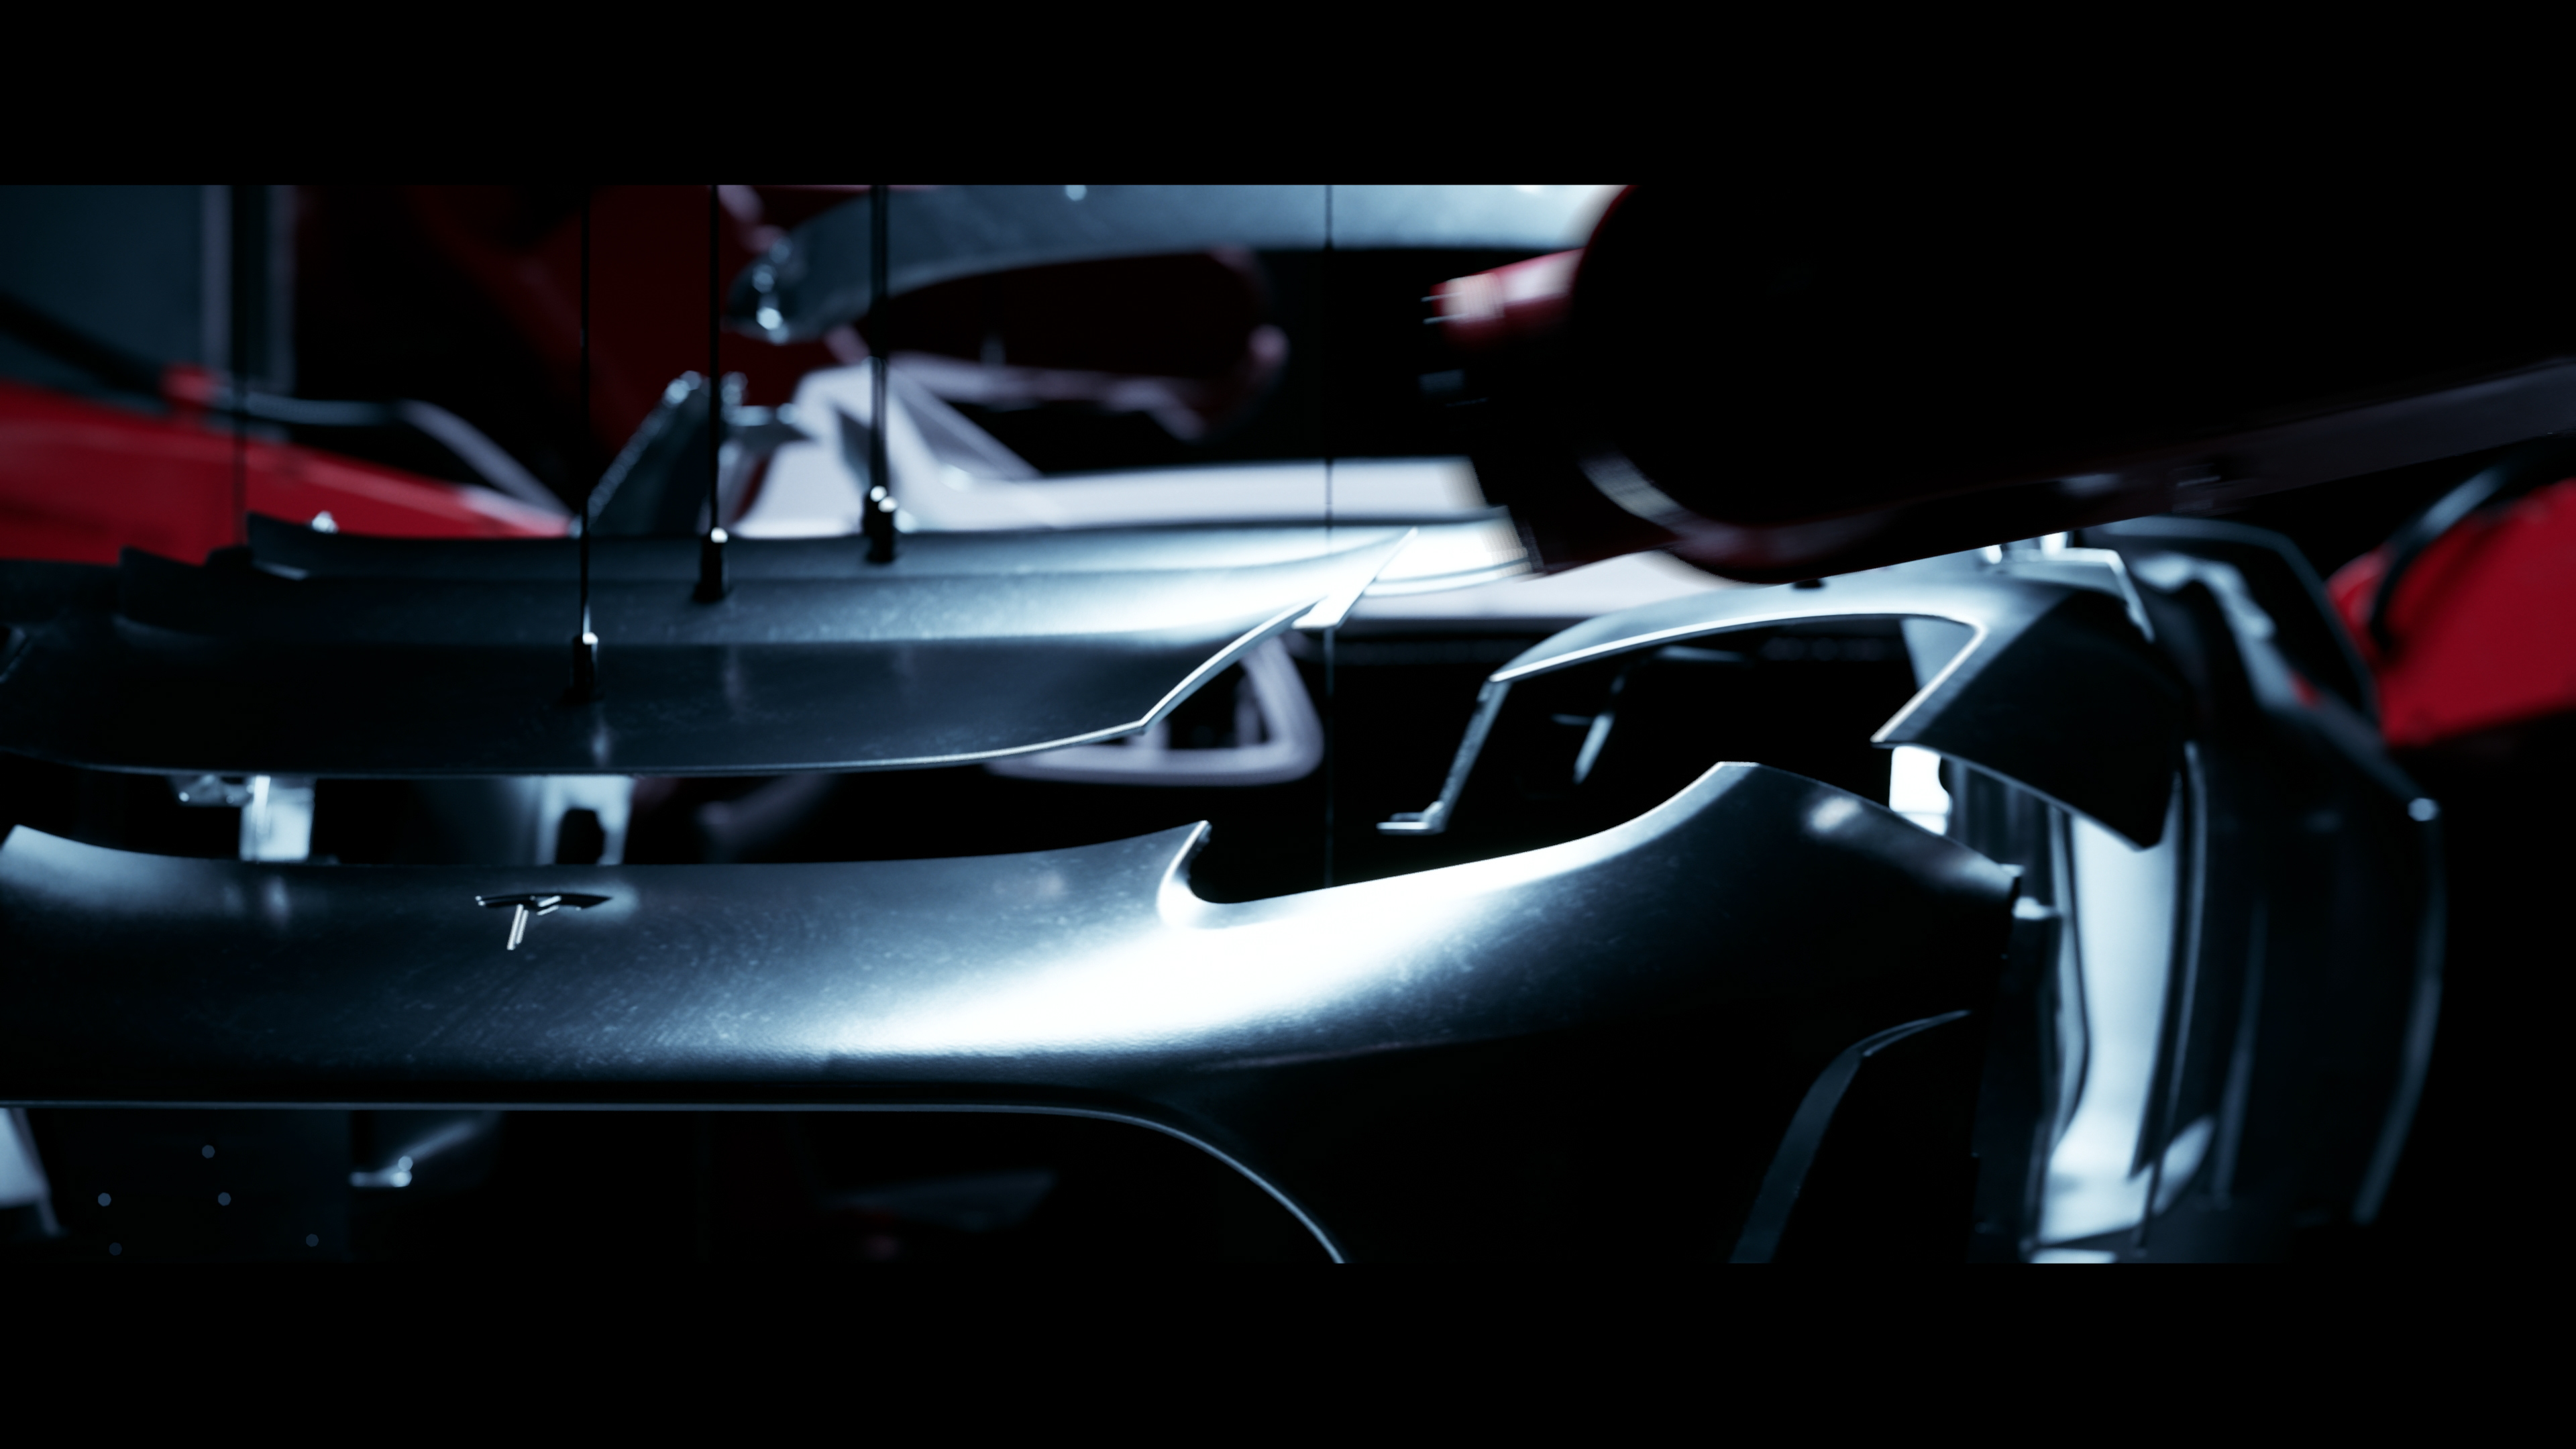
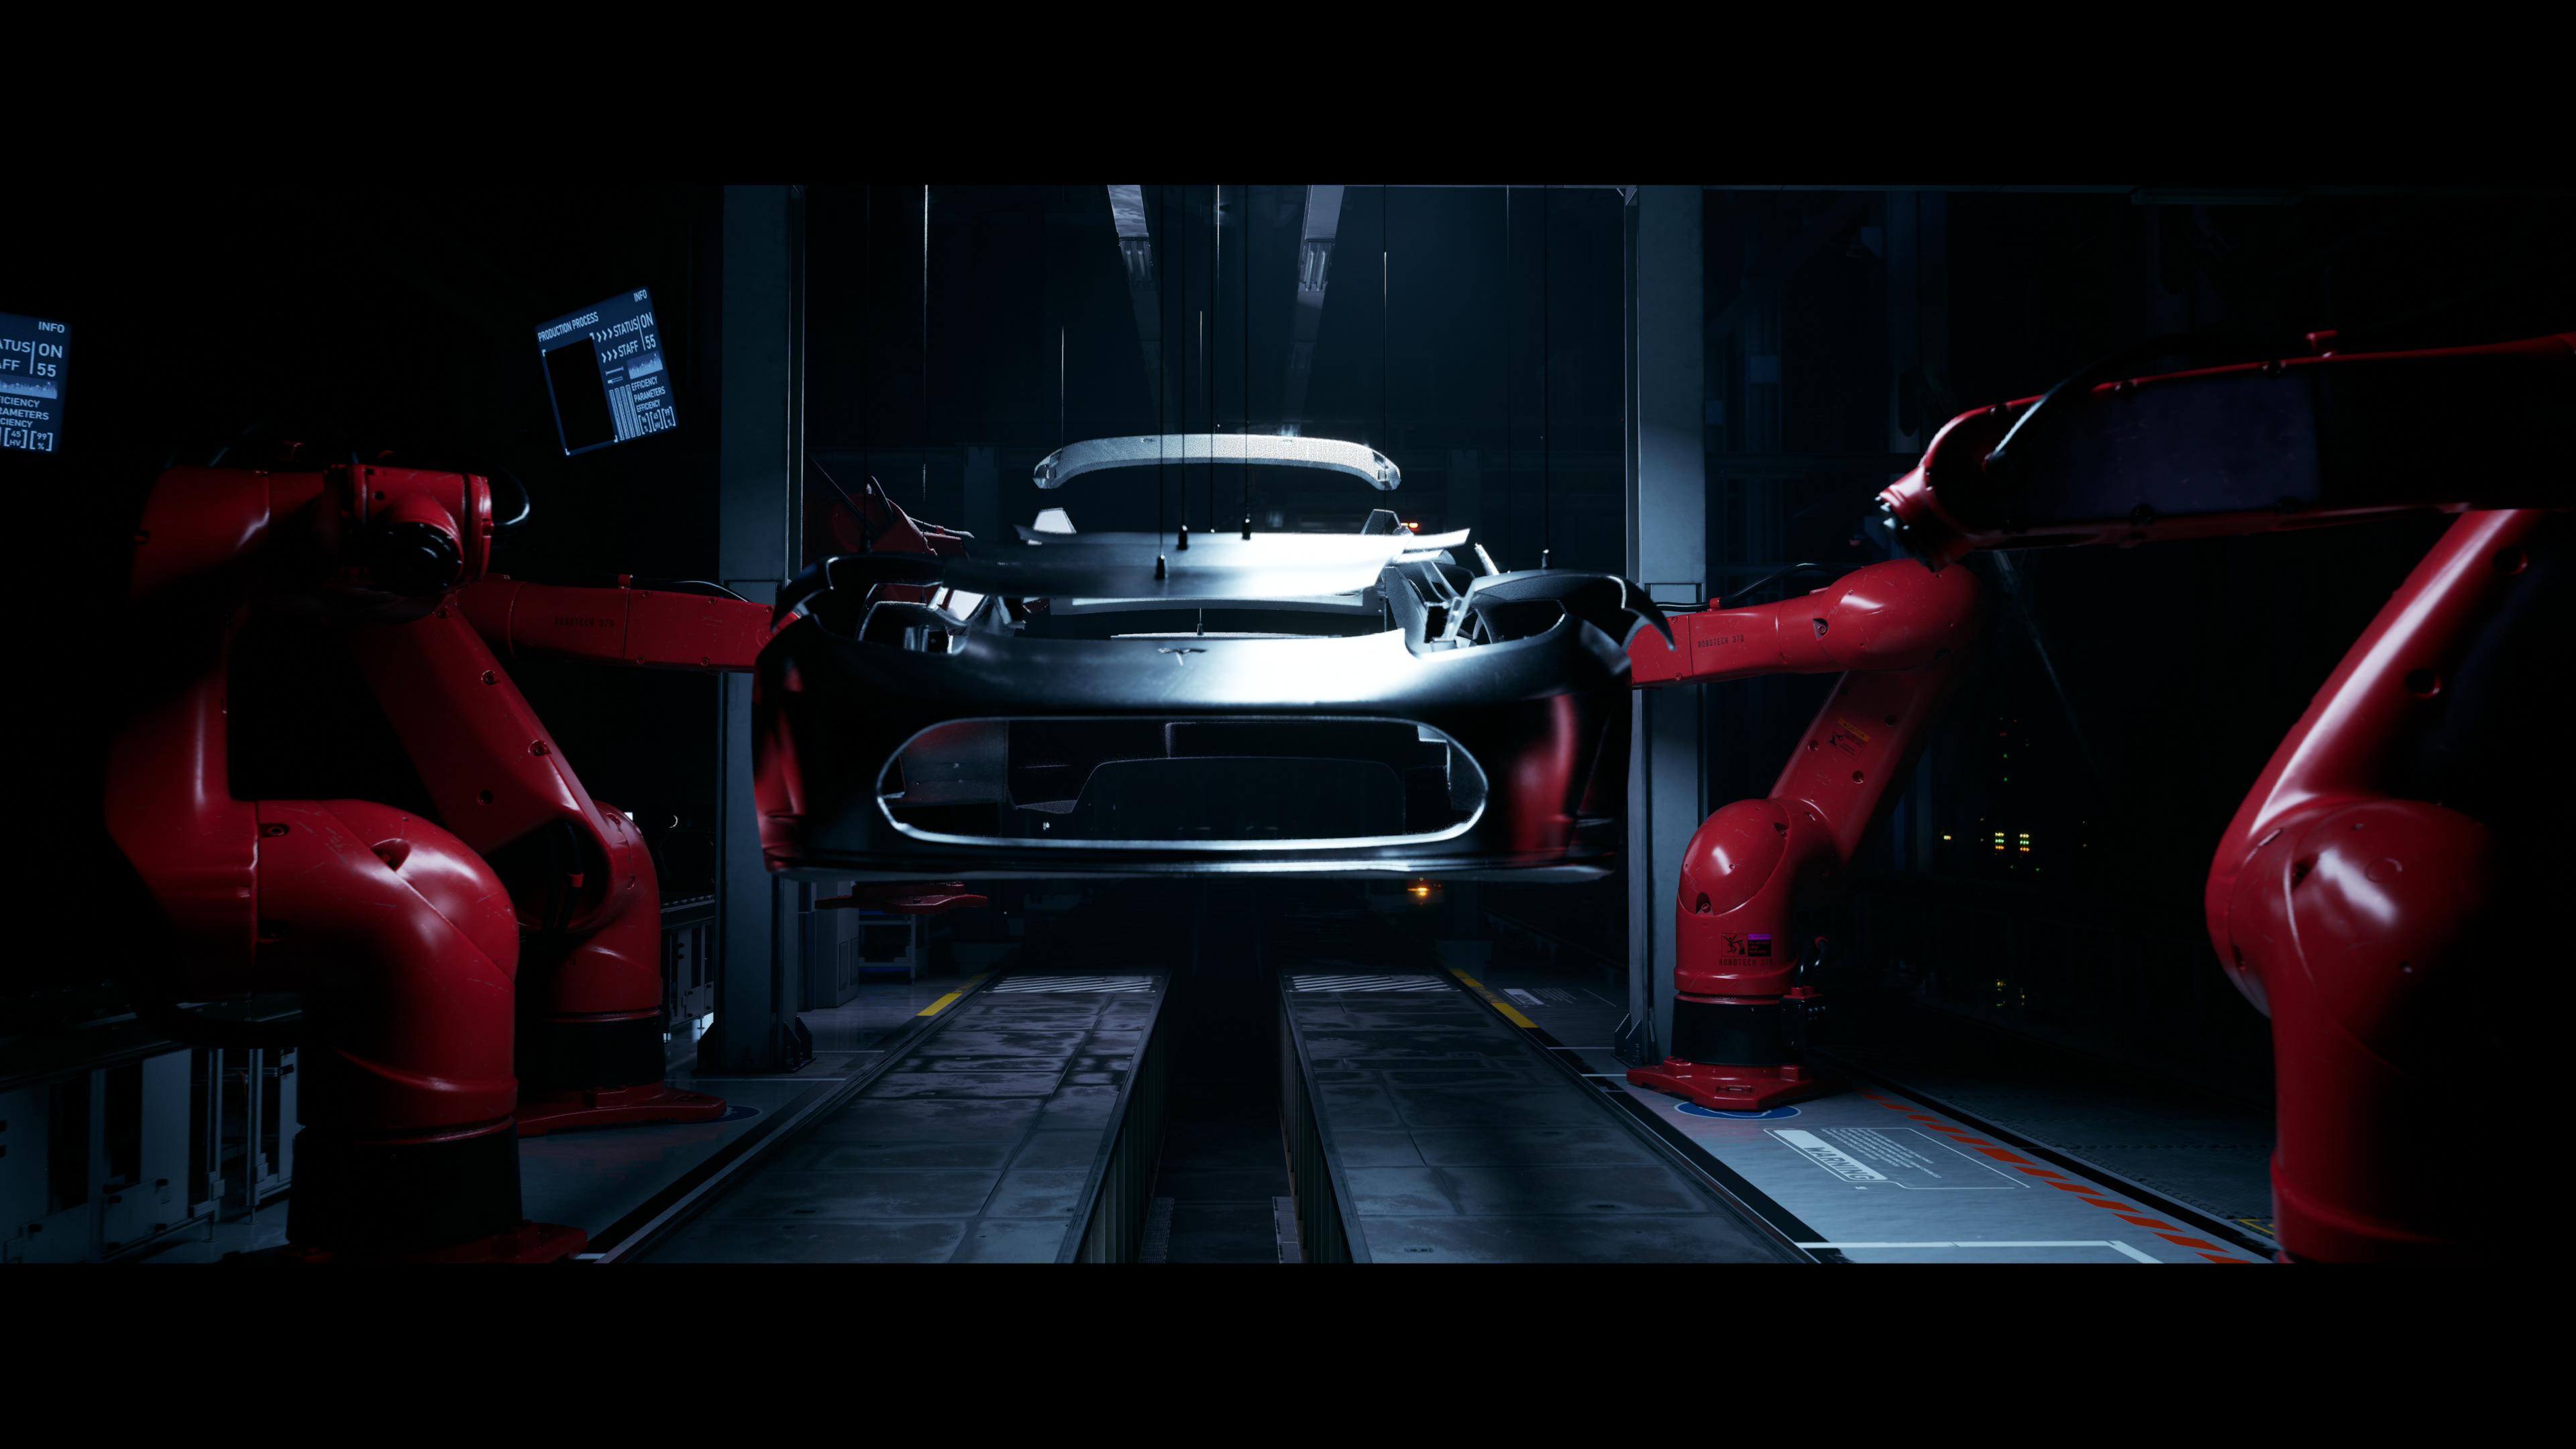
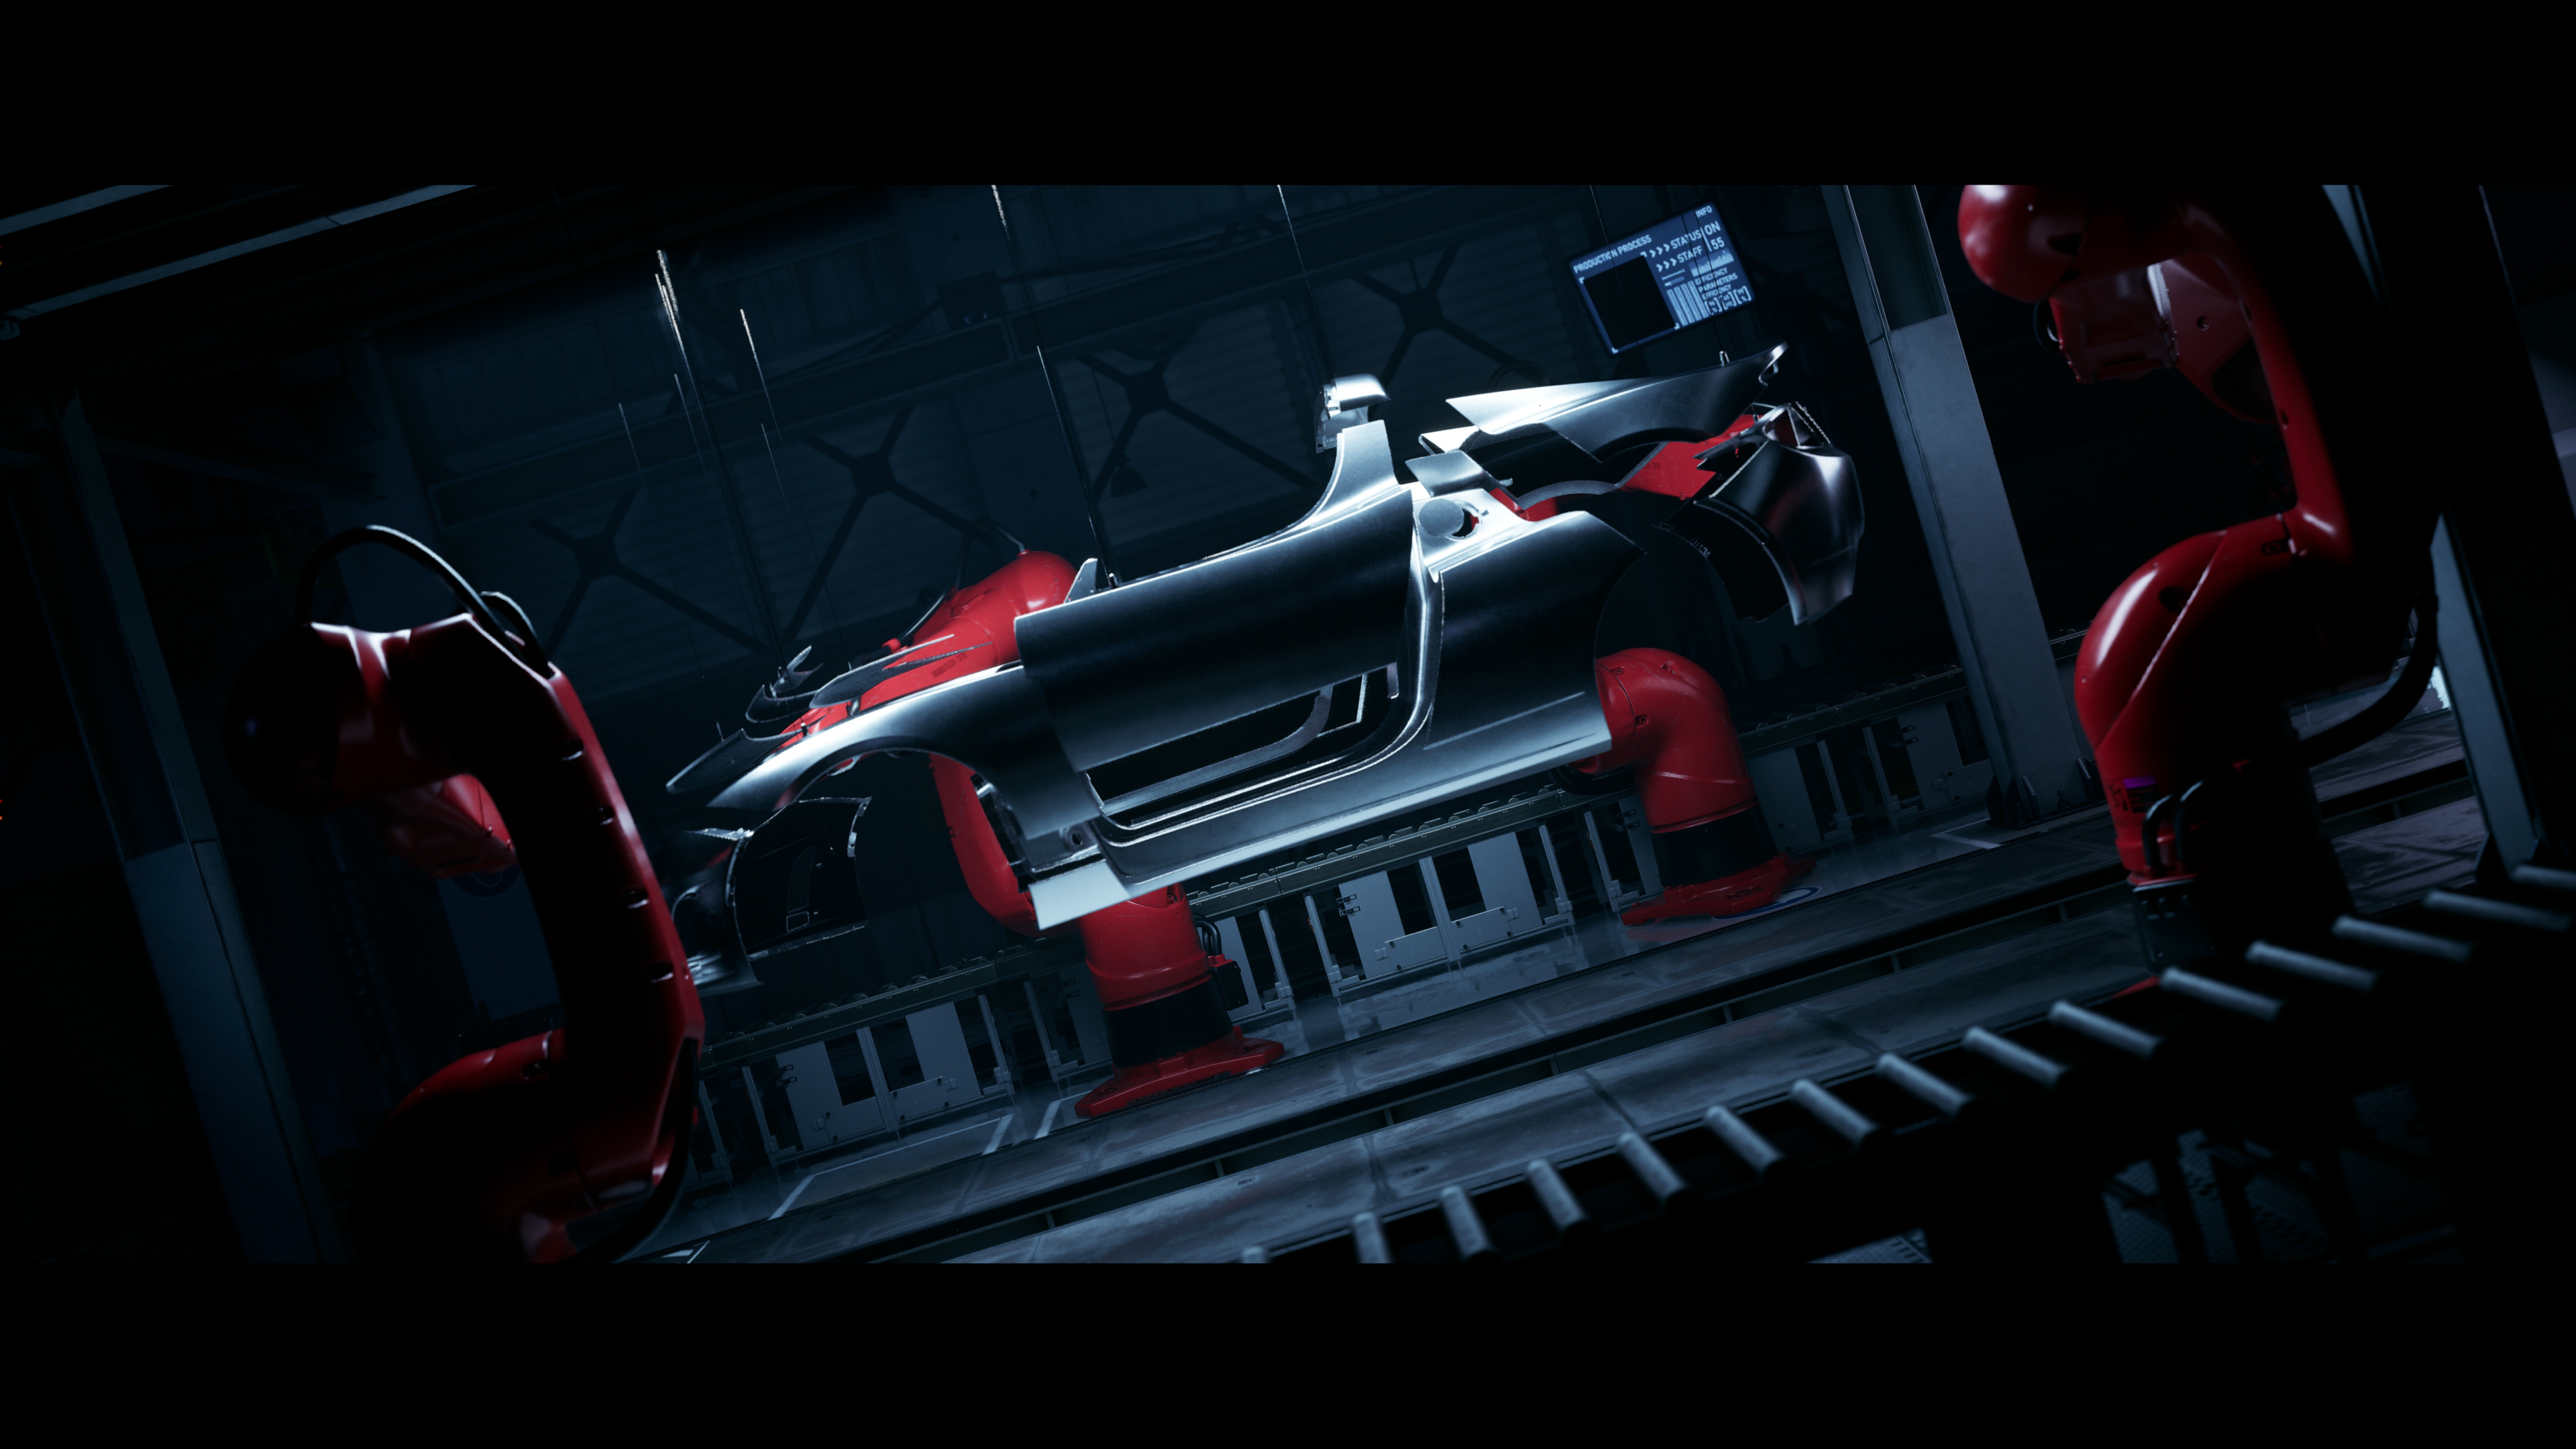
For the manufacturing scene, I made use of Epic's Factory Environment collection. This saved me a ton of time by allowing me to use the pre-built environment as a backdrop for the first shot sequence. I made several modifications to the scene, stripping out props, re-lighting the scene for a more dramatic look, and reducing the colorful aspects of the environment to a more minimal and focused color palate.
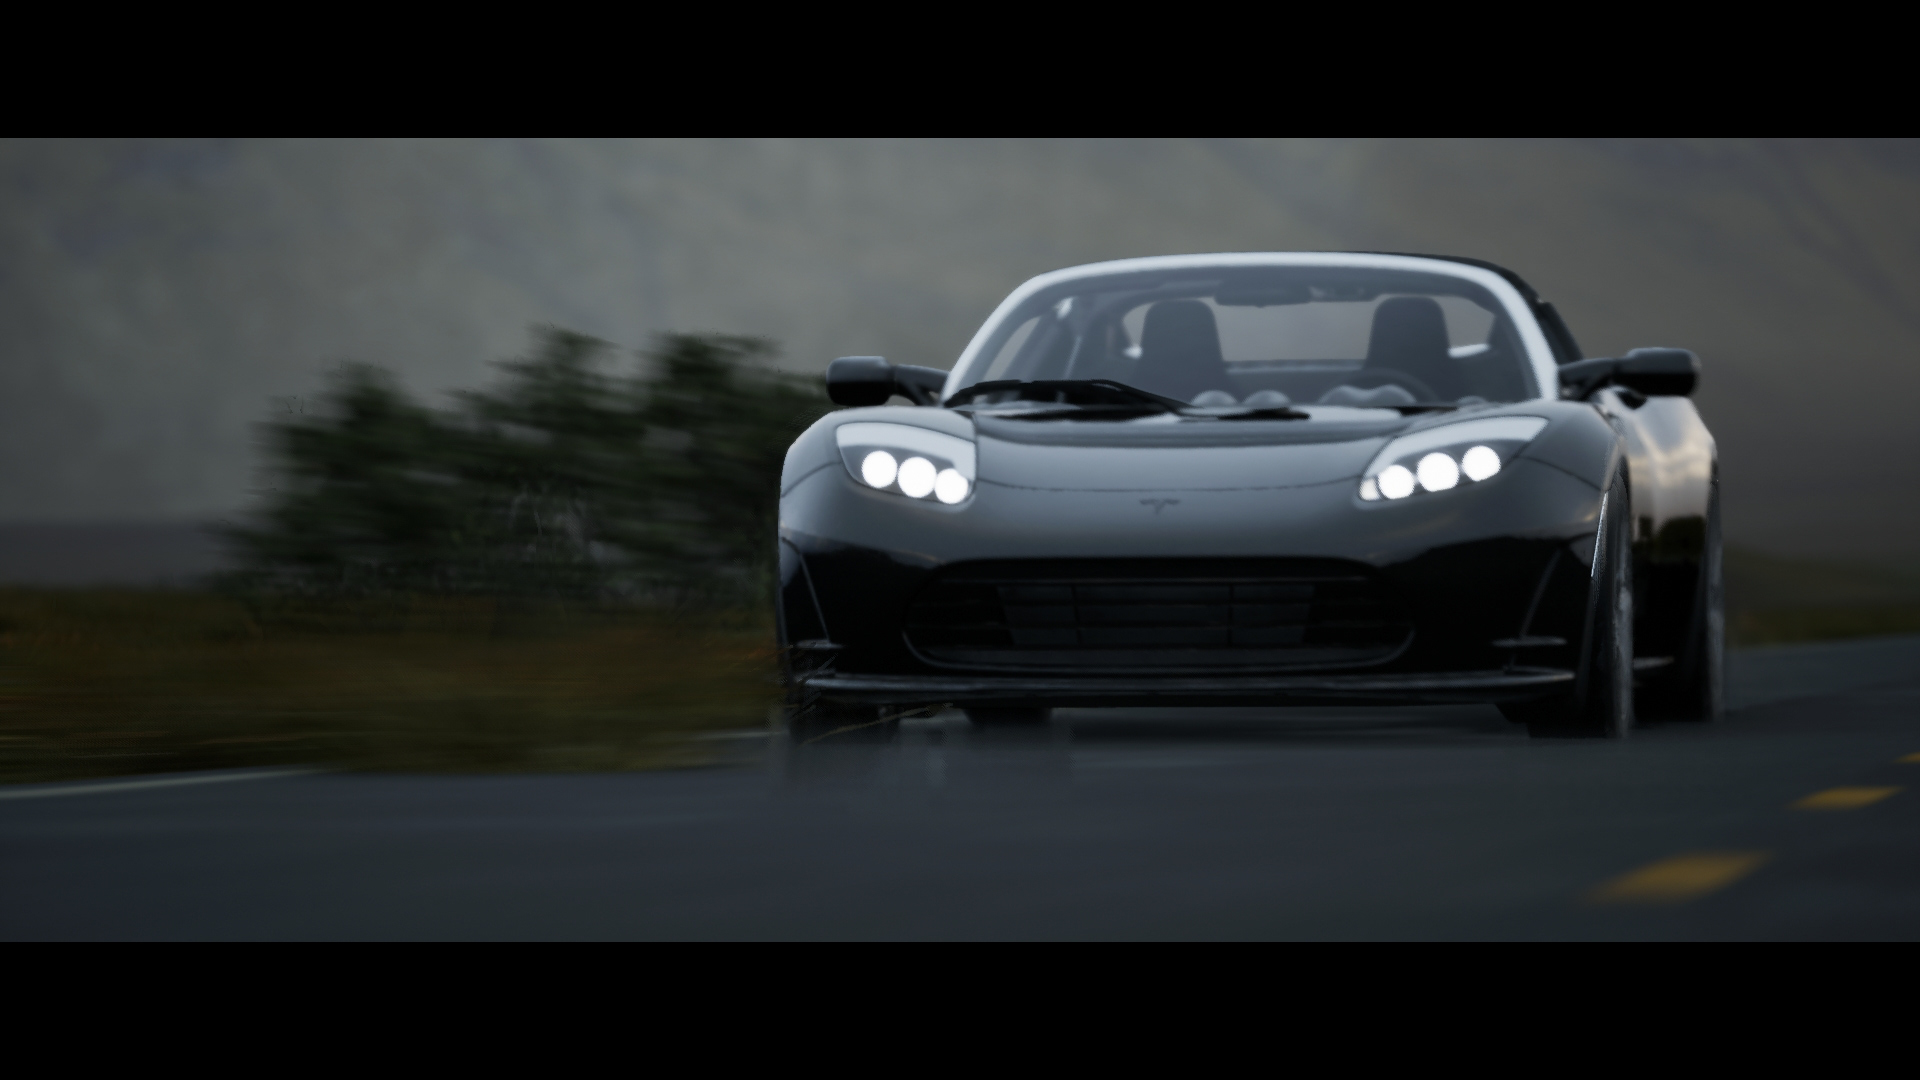
For materials, I made use of Epic's Automotive Material collection for applying materials to the vehicle itself.
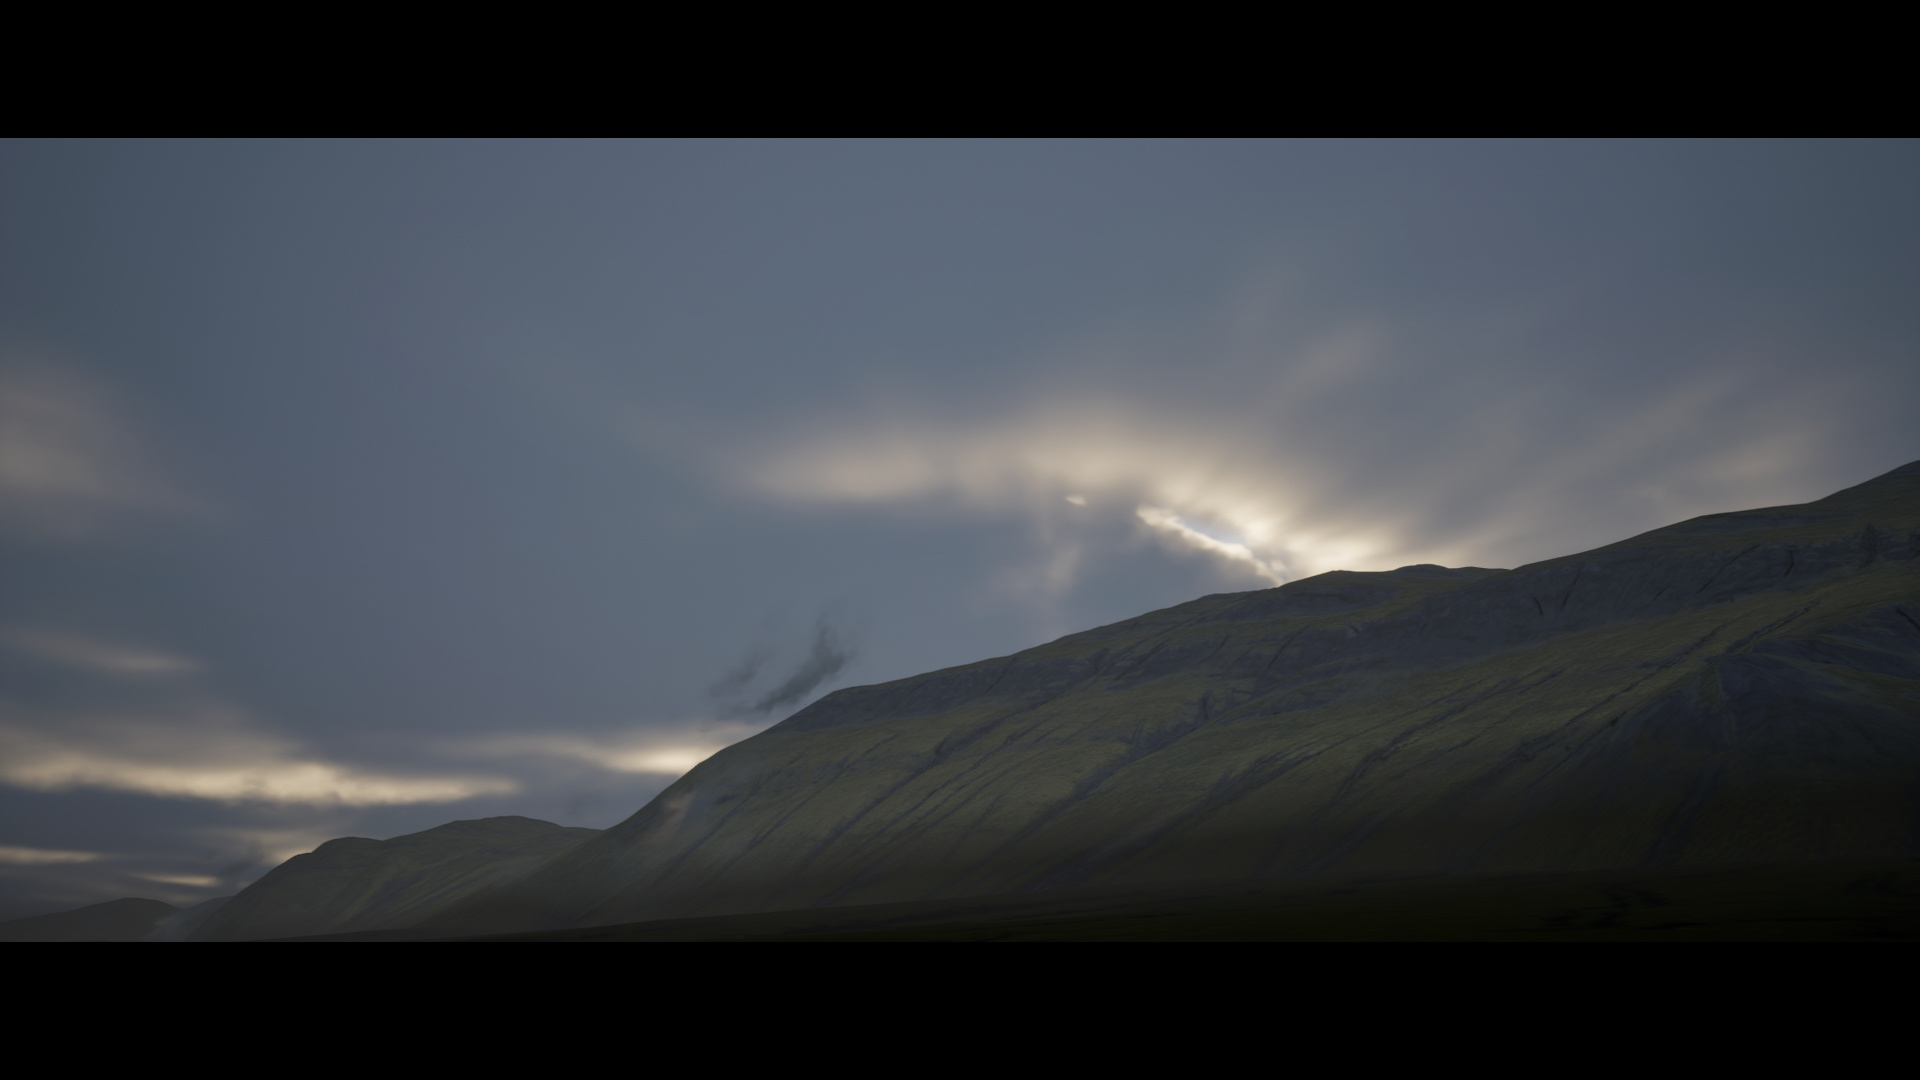
I also used the Ultra Dynamic Sky plugin to quickly iterate on different lighting and weather conditions for the exterior scenes.
Asset Prep and Animation
In preparing for animation, I brought the Roadster model into blender, first to assign a simplified number of material slots to make the material process quicker in Unreal. I also did some routine cleanup, such as removing duplicate vertices and UV mapping.
Animation
I have experience animating vehicles via the Chaos vehicle plugin or the Control Rig plugin for Unreal, but for this project I chose to animate the vehicle in Blender and import to Unreal via FBX.
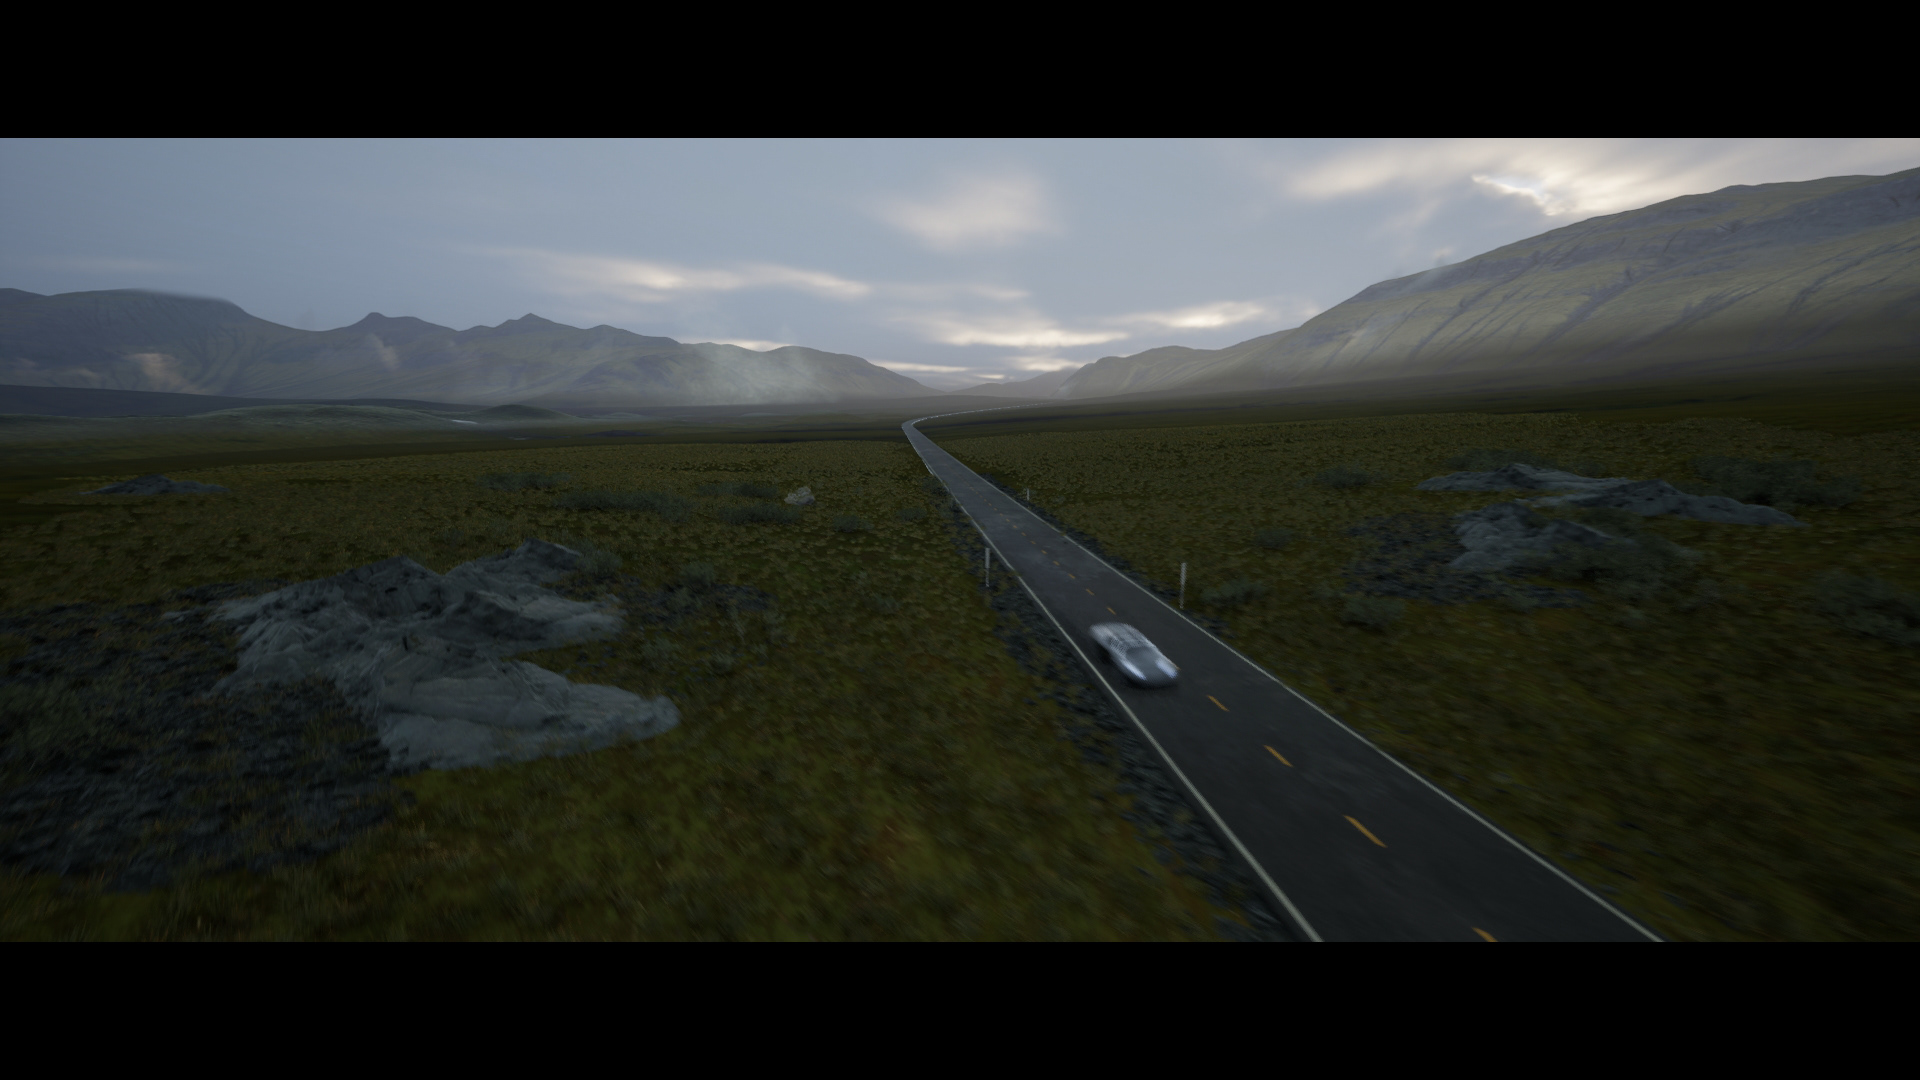
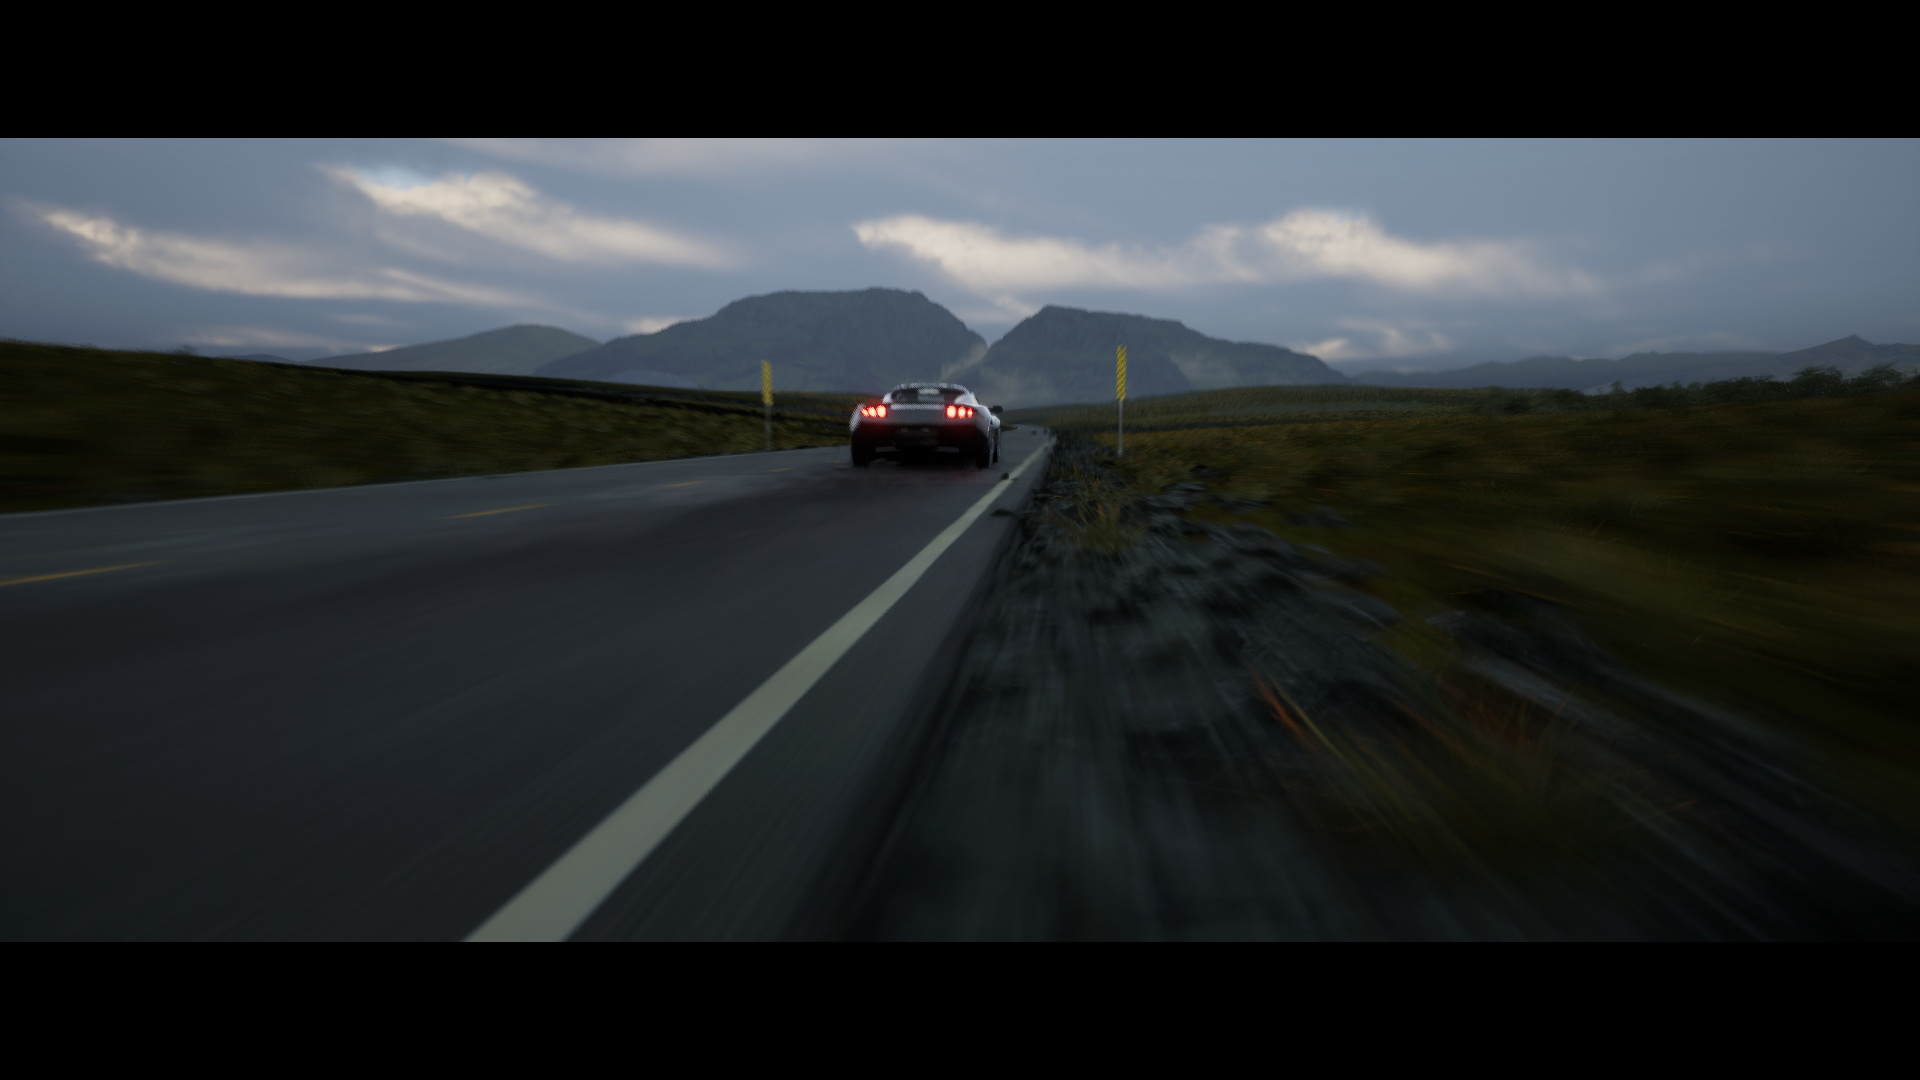
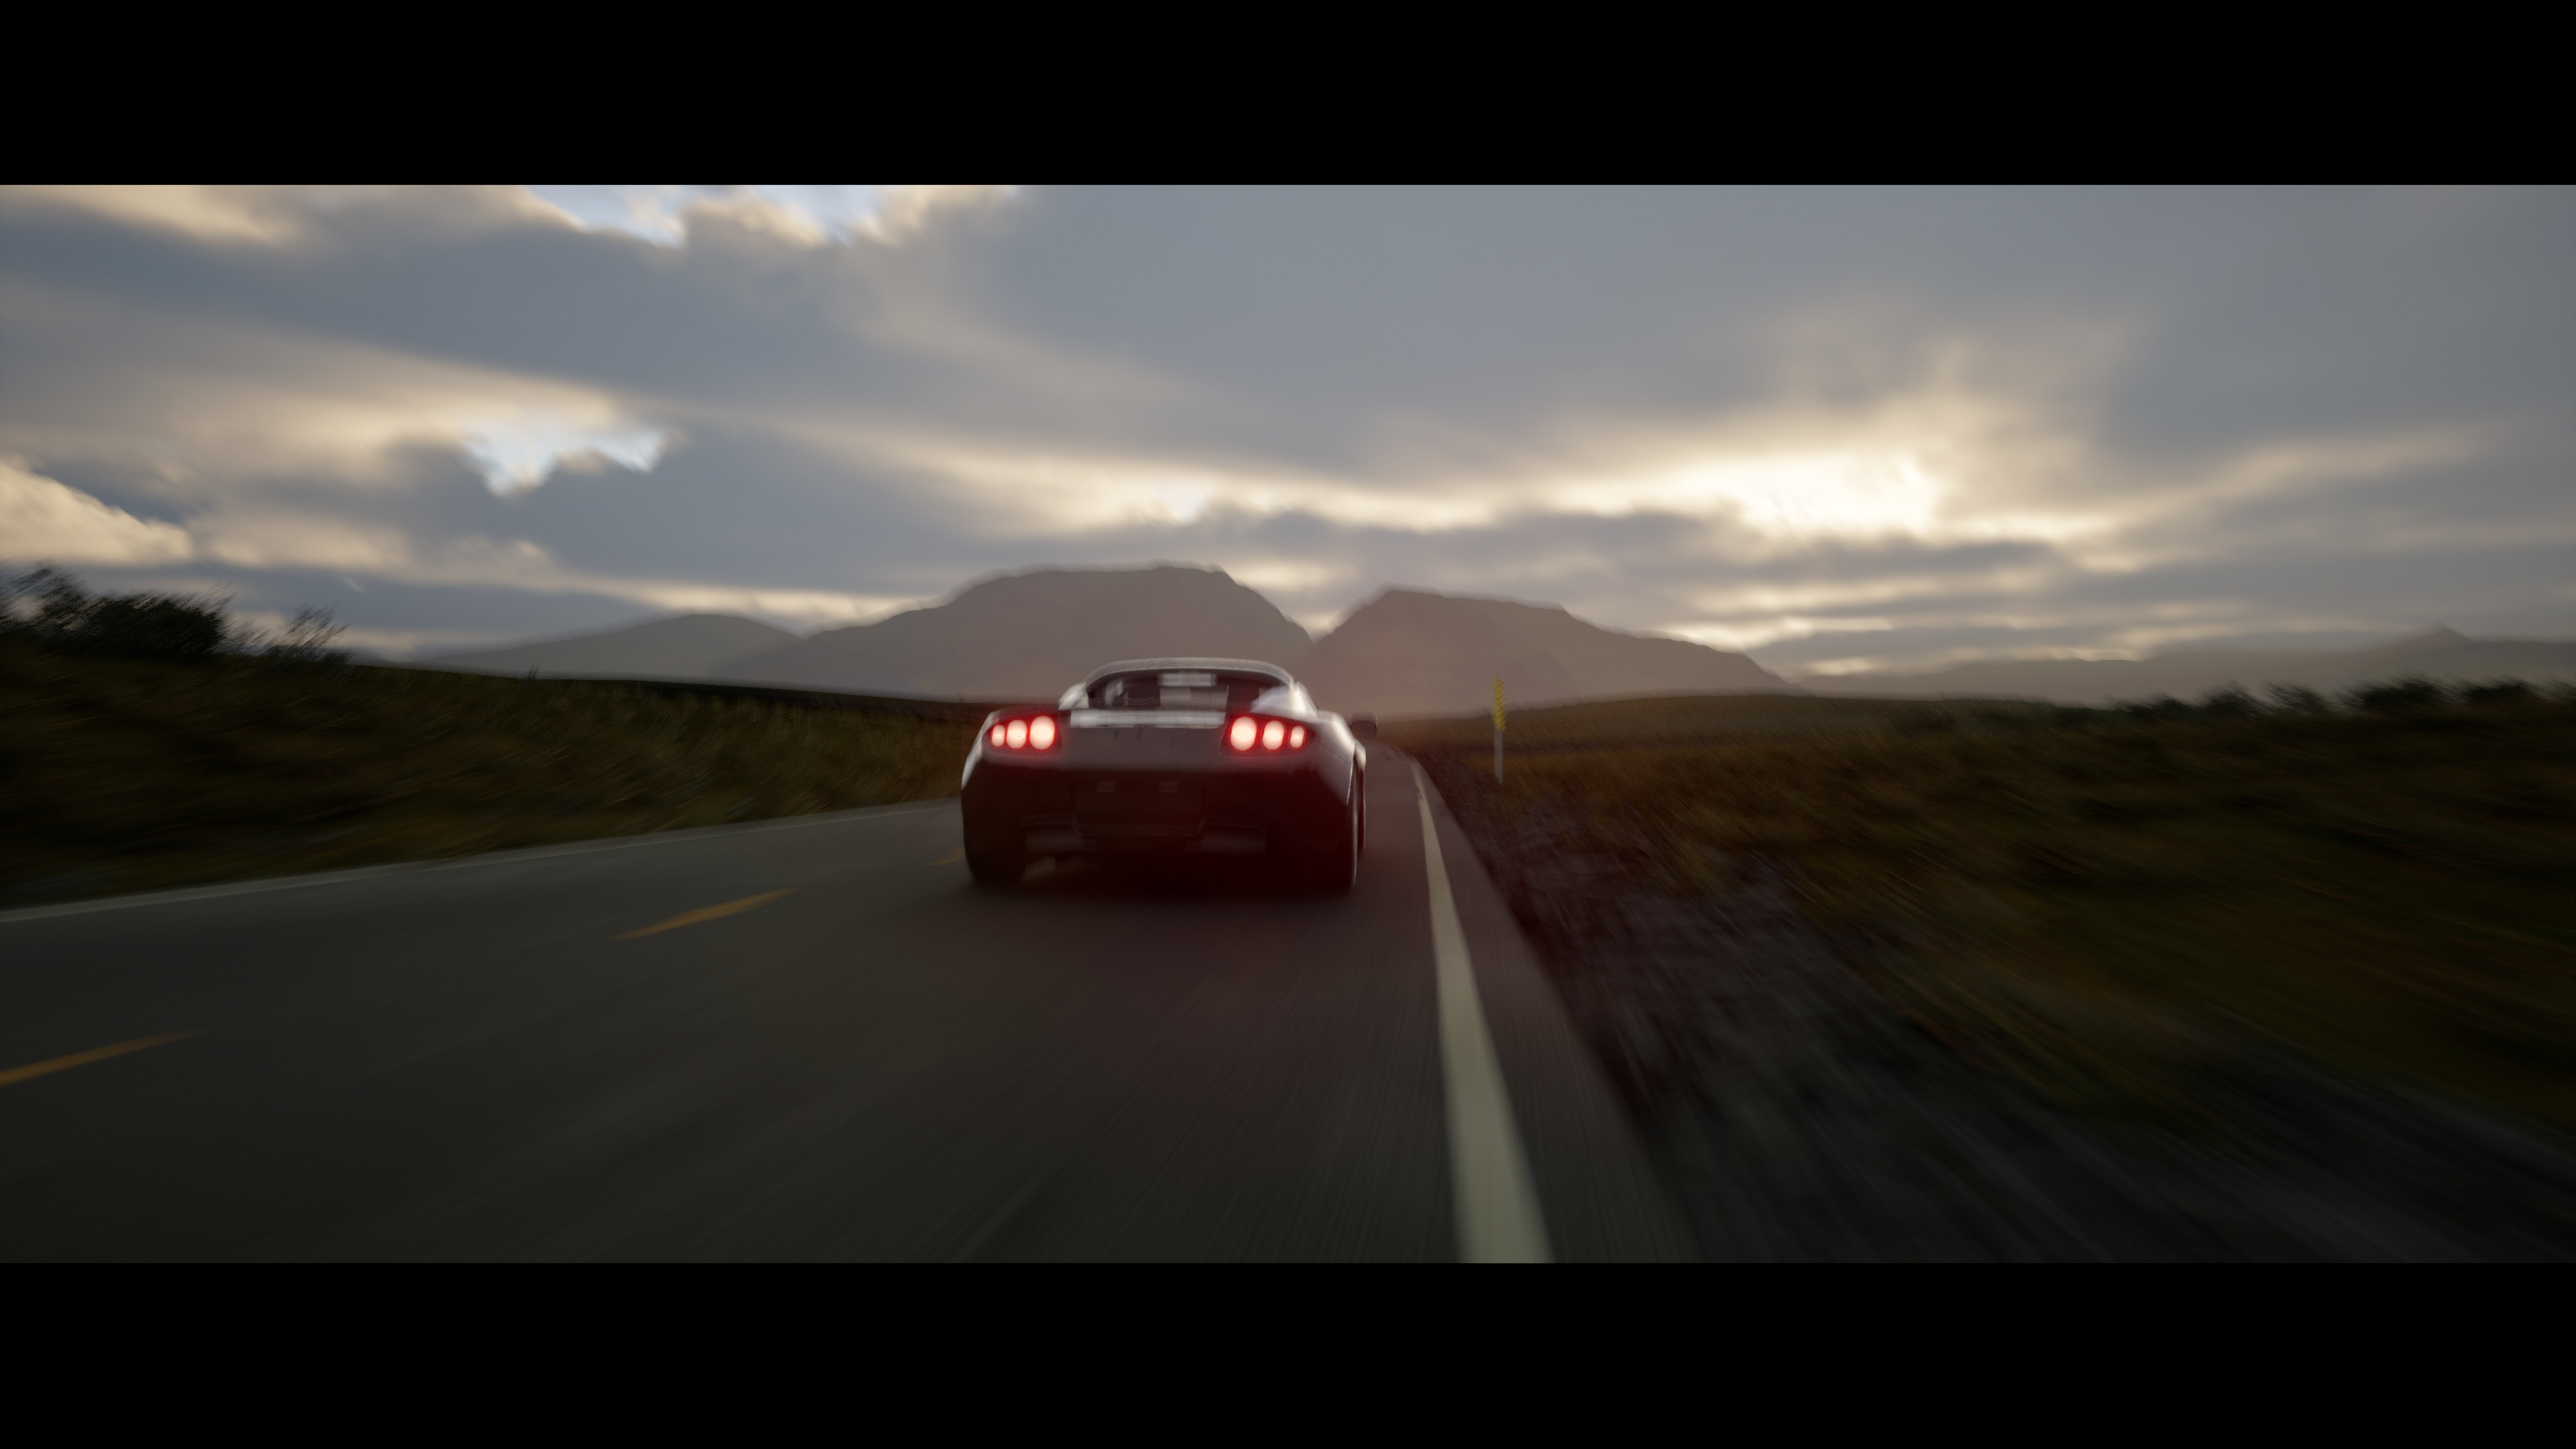
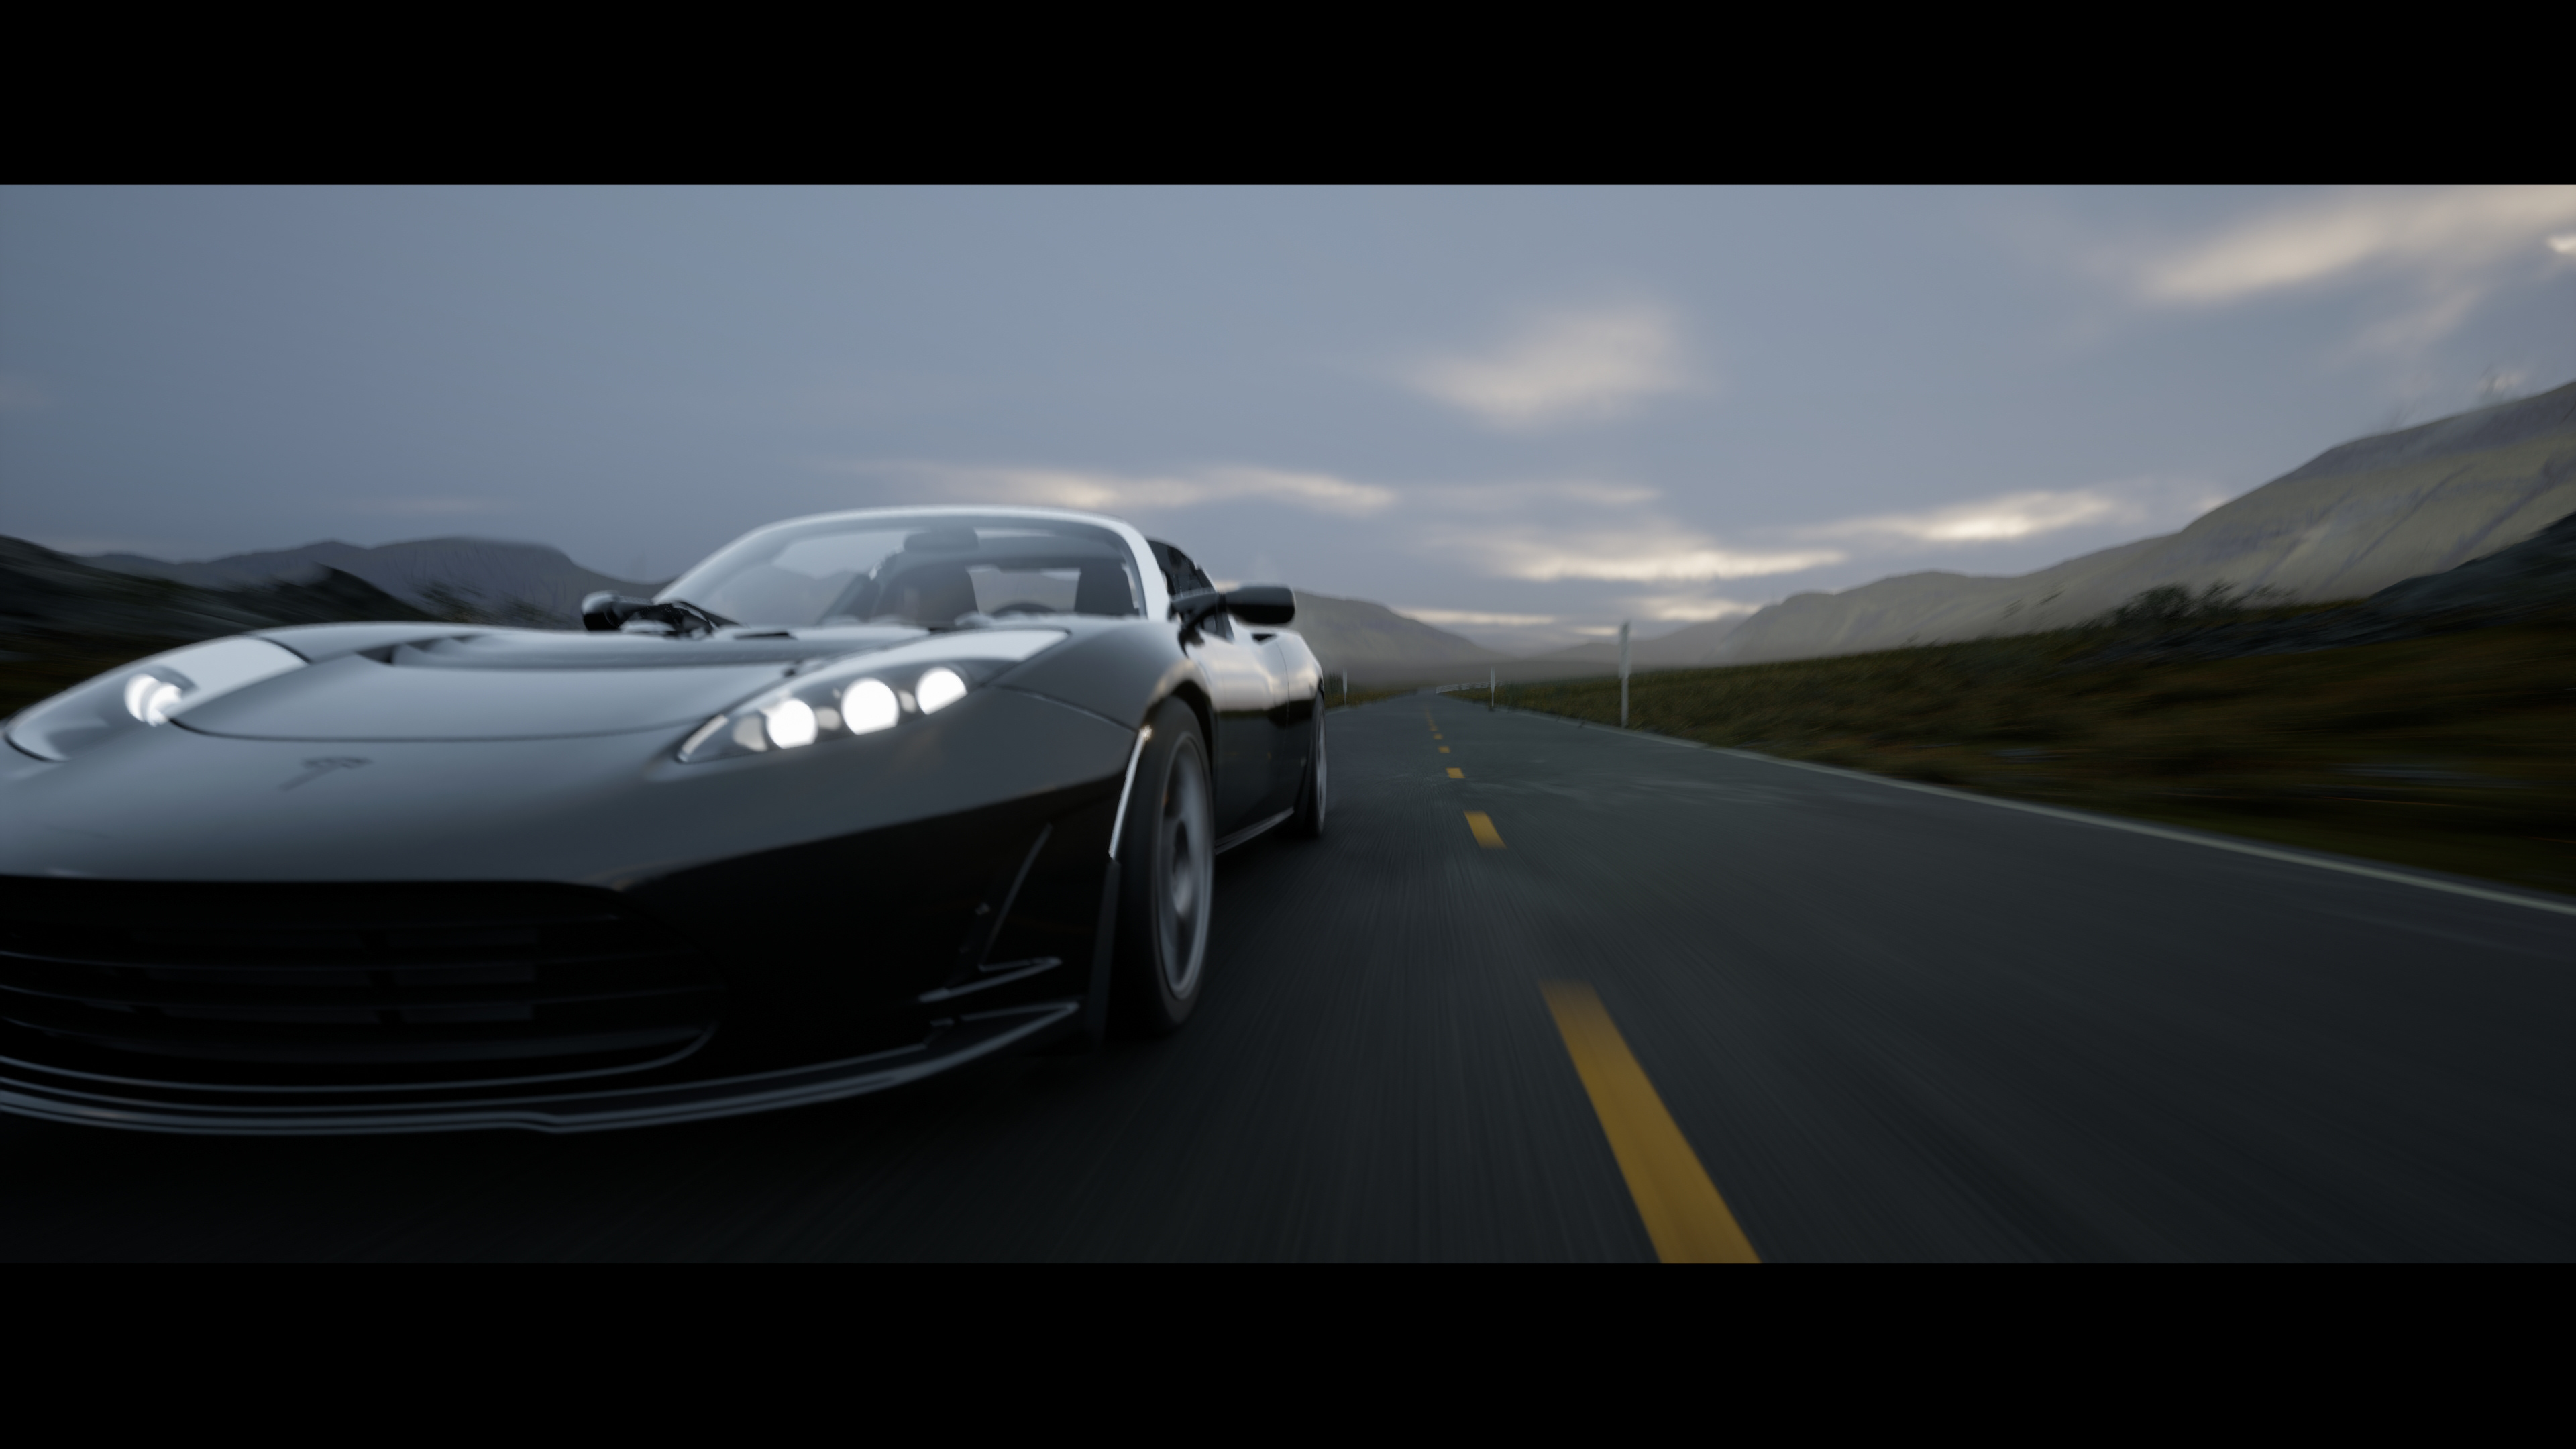
After drawing a landscape spline that serves as the road, I converted it to a static mesh and imported it into blender. Then I used that same geometry to rig the vehicle to follow the path along the mesh. Via Blender's bone constraints I was able to ensure proper tire-ground contact, and realistic vibration and rotation. Once I was happy with the pre-vis animation, I exported it back into Unreal.
Landscape Creation
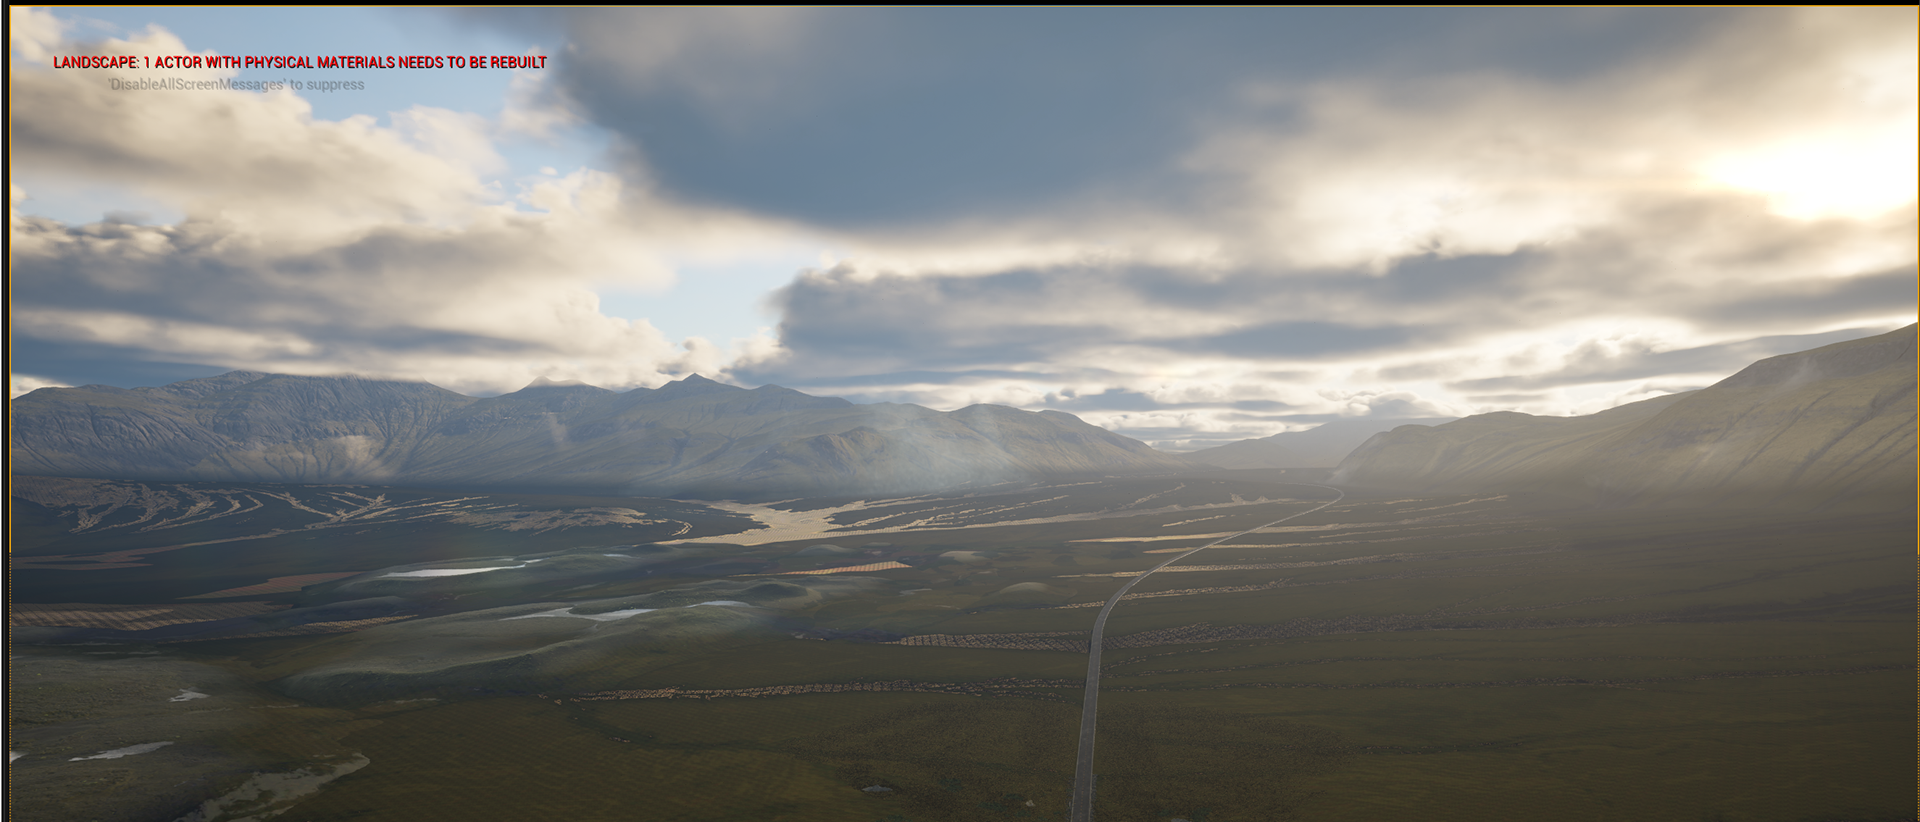
I used procedural landscape creation tool Gaea to create both the base landscape and distance meshes for the exterior scene. Gaea makes it easy to set up a series of parameters and then generate multiple meshes that all look like they could be part of the same environment, using the same colors and overall erosion properties. Aside from exporting an FBX mesh for each landmass, I also exported a handful of data maps (Grass mask, flow map, slope map) that I used inside the Unreal material shader.
Once I brought the meshes into Unreal, I created a master material that uses the Gaea Grass mask to mix between rock and grass texture sets. in the interest of time, I tried to keep these shaders as simple as possible, especially because they'd only be seen from far in the distance. This material makes use of two substrate slab BSDFs, and mixing them together with the Gaea data maps.
Runtime Virtual Textures
Whenever I'm working on exterior scenes, I like to use runtime virtual texture volumes to seamlessly blend between landscape objects, foliage, and distance meshes. It is an effective way to make sure the various landmasses and props in the scene feel like they belong together.
Sequencing & Final Edit
After getting the animation for the manufacturing and driving scenes in place, I spent time building out camera animations to create a handful of individual shots for each, that I ultimately assembled and color graded in Adobe Premiere.
Challenges
Substrate
During the course of the project I ran into a few snags that required me to change course. First, this was my first time using the new Substrate material framework from Unreal. There are a few things that I am still not familiar with yet that I had to find workarounds for, such as not being able to use nodes like "Break Material Attributes" for modifying materials using smaller material functions. Also, converting to Substrate caused a couple of the Automotive material presets to no longer work as expected, such as all of the glass materials.
Landscape memory leak in Unreal 5.3
I also discovered that using an 8k heightmap for a landscape in my version of Unreal 5.3 seems to cause a memory leak that crashes Unreal when rendering out of the Movie Render Queue. As a workaround, I converted the landscape road spline to a static mesh, brought it into Blender, and aligned the FBX output from Gaea for the same landscape. Then brought the assembly back into Unreal and aligned it with the animation.
Shortened Concept Phase
Because this was such a short project, I was not able to spend as much time upfront planning the concept and direction for the piece. I chose to take a visual approach, focusing on imagery I found compelling, rather than first honing in on a specific narrative.
Lumen Render Artifacts
In some of the final shots I noticed there are a few light pops and other artifacts. With a little more time I could go back and experiment with different render settings and console variables to get the most out of Lumen and reduce these real-time artifacts.
Production Timelapse
Gallery
